These are the steps for converting black and white analogue film photographs to digital images
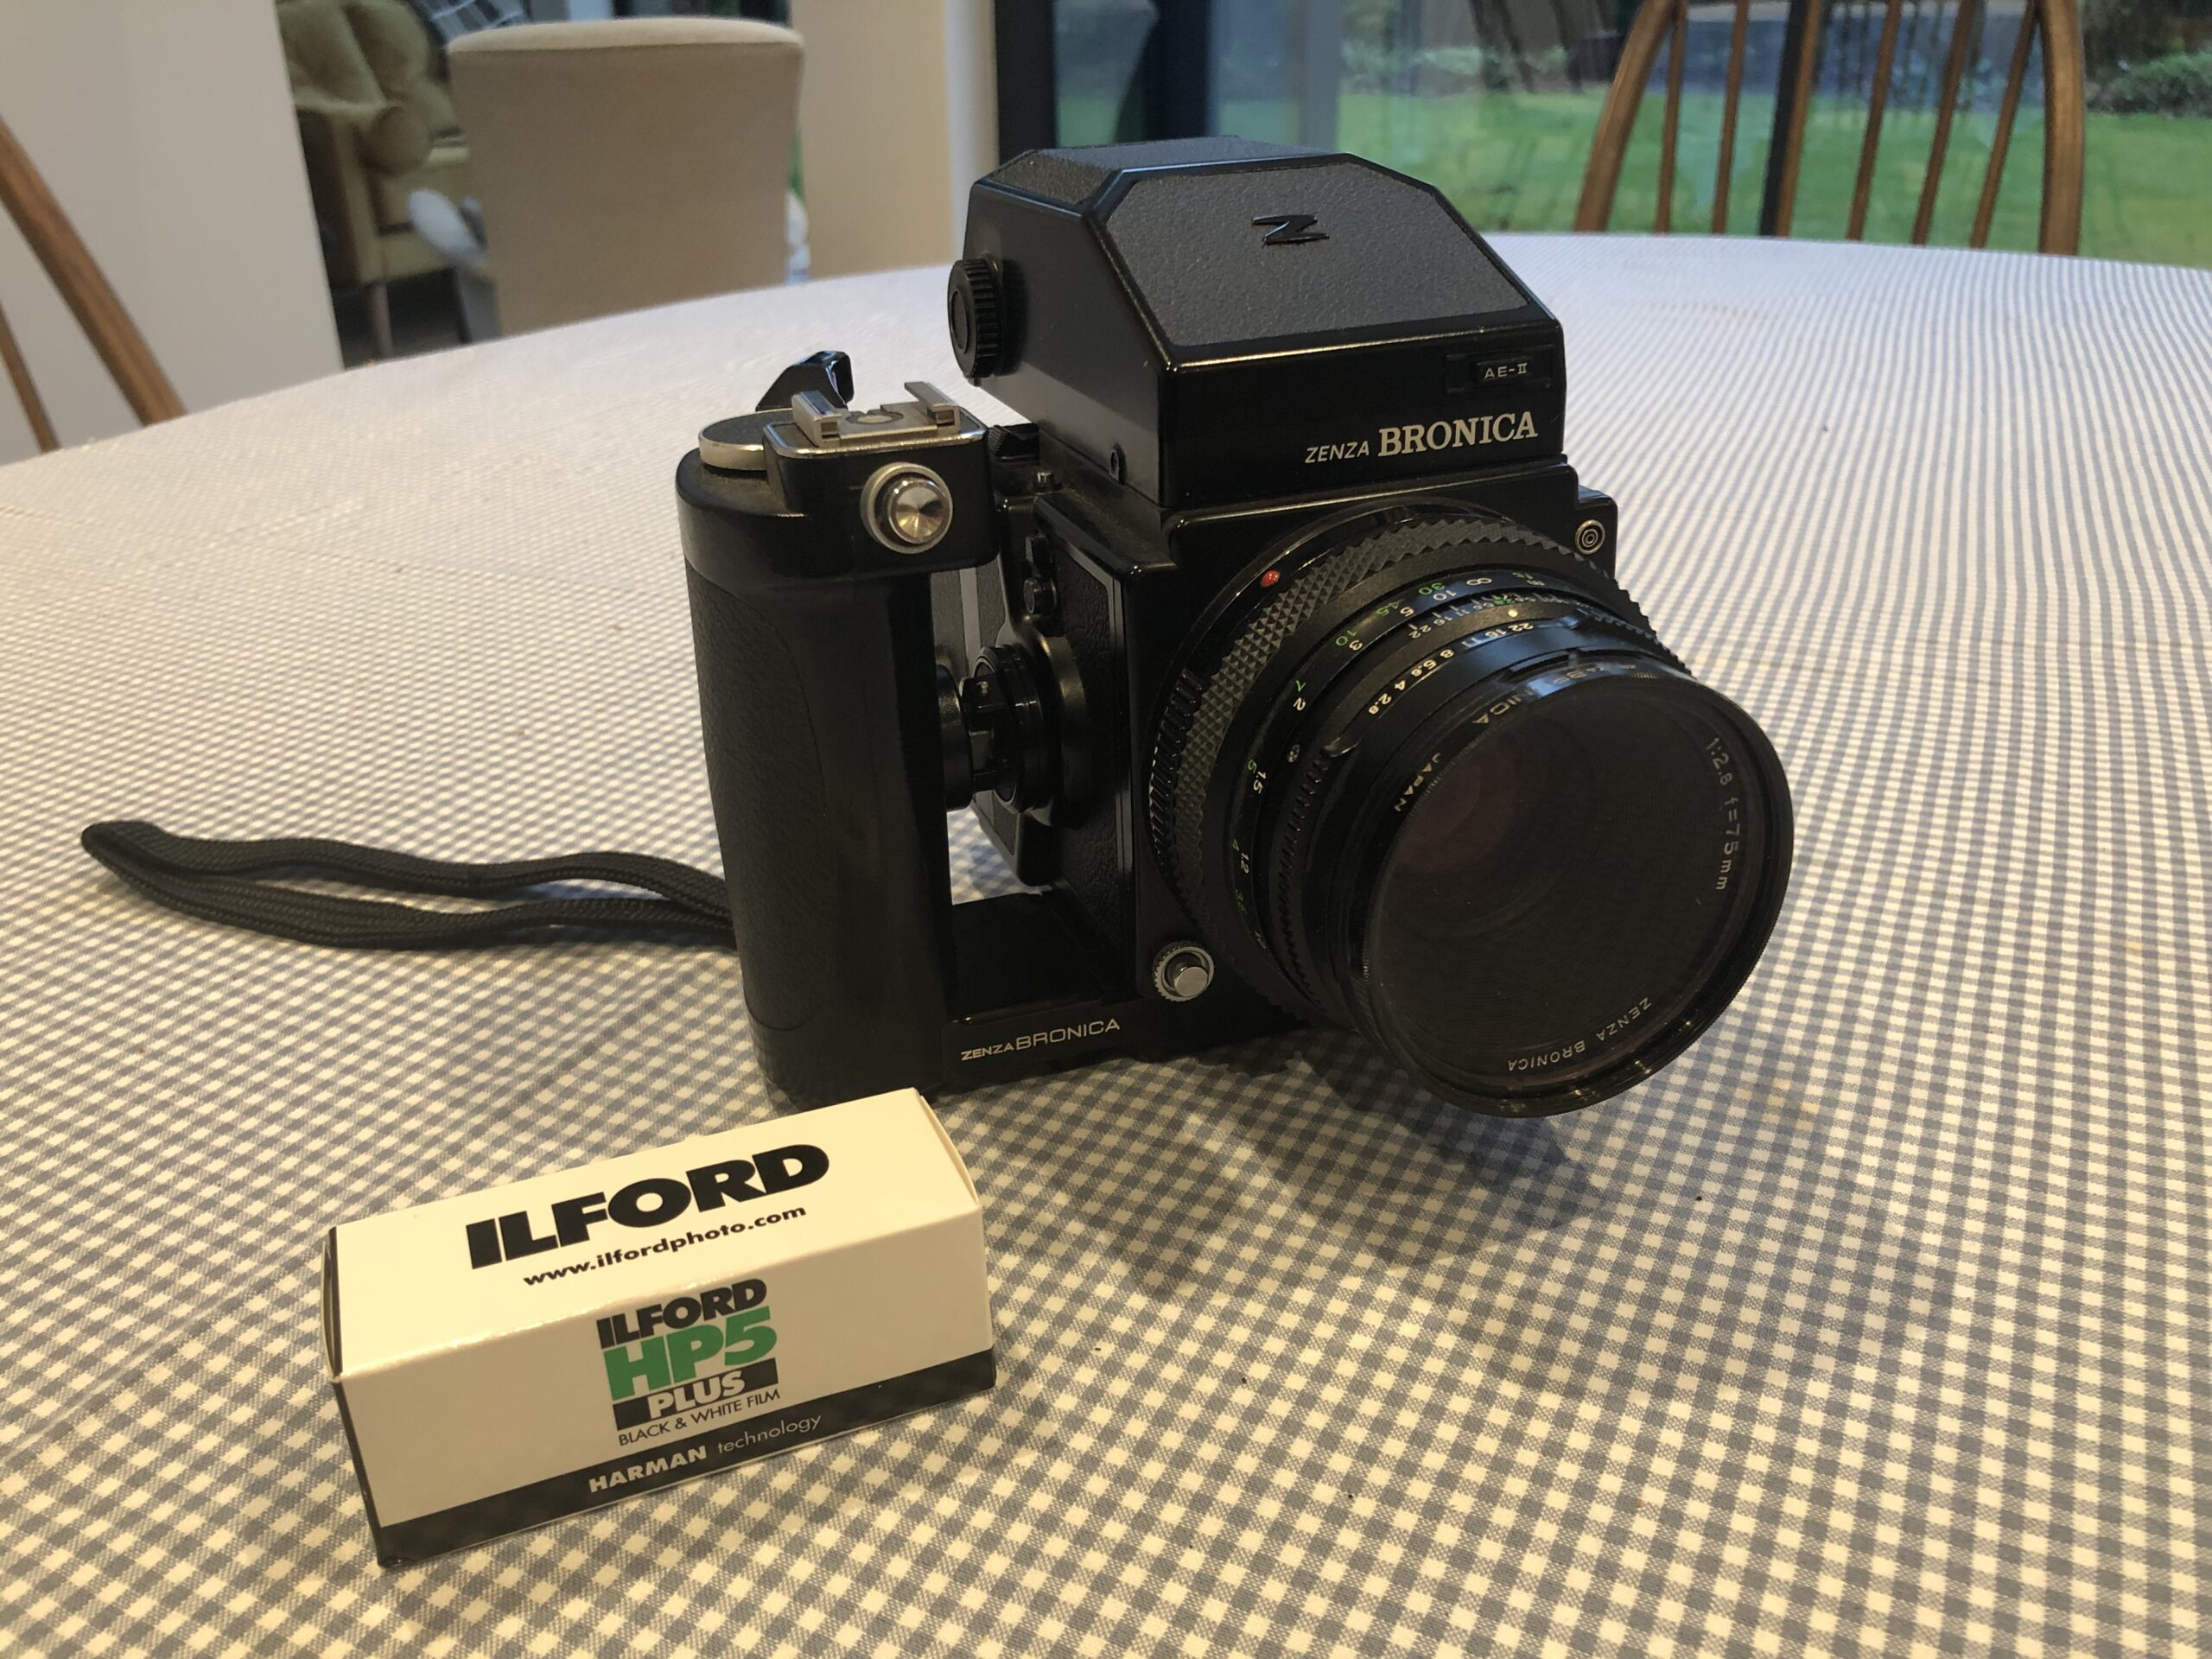
First you need an analogue camera and some film! I’m using a Bronica ETRS 6×4.5 medium format camera with Ilford HP5 film (400 ASA)
Go out and take some photos….

Get your film developed – or develop it yourself.
Once your film is developed – select the frame you wish to digitise

You need a ‘transparency’ scanner – this could be a dedicated device or a flatbed scanner with a transparency hood – I’m using the Epson Perfection 3170 Photo which can scan transparencies or negatives up to 6×9 cm


The scanner uses a caddy for mounting the negative – this keeps it flat and ensures it is correctly positioned and the right distance from the glass bed of the scanner

The scanner uses a light called a cold cathode light the shines an even flat neutral white light through the negative to the scanner sensor – i.e. transmitted light rather than reflected light that is used for scanning documents or prints.

It is important to scan in ‘Transparency mode’ (not flatbed) – This ensures the scanner turns on the backlight – which can take a short while to ‘warm up’. Do an ‘overview scan’ and select the area to be scanned – I have selected an area slightly larger than the single frame. At this stage you are aiming to capture as much information as you can from the negative frame. I always scan in colour mode with maximum bit depth (even though it is a black and white negative). Set the scan resolution to the maximum ‘optical’ resolution of the scanner – in this case 3200 DPI. There will be higher resolution settings, however these use interpolation to generate additional pixels without actually increasing the amount of scanned information and results in unnecessarily large image files (which are going to be big enough as it is). Set your scanned file type to a lossless format (such as TIFF) rather than a compressed format (such as JPEG). Don’t do any image correction, dust removal or cropping at this stage.
Scan away…! note this will take a few minutes.

This will generate a large image file – note that this is a 43 megapixel image at this stage. Now open the file in photoshop. It will look something like this – don’t be disappointed…

We now need to ‘invert’ the image (convert from negative to positive) and rotate it, sometimes we may need to ‘flip the image’ as well if it has been placed in the carrier the wrong face down. We also need to convert the image file from RGB (colour) to Black and White. These actions are all under the ‘Image’ menu in photoshop.


We also need to crop the edges of the frame

Each of these steps has removed superfluous information from the scanned image file – without diminishing the image itself. This is what the image should look like now – however it looks a bit flat and grey. This is because the scanner has a much larger dynamic range than the image itself – you can see this if you look at ‘Levels’ (under Image -> Adjustments -> Levels)

As you can see the image pixels are only occupying about a third of full grayscale range. To correct this drag the ‘black-point slider’ up to the point where the histogram starts to rise and the ‘white-point slider’ down to the point where the histogram drops to almost zero (in this case just about where the ‘mid-point slider’ is currently pointing). Leave the mid-point slider alone for now. Your image should now look something like this:

Getting there! We now have to sharpen the image a little – the image from the scanner is always a little ‘soft’ and all scanned images benefit from applying a touch of ‘unsharp mask’. This is found in Filters -> Sharpen -> Unsharp Mask


Don’t overdo this as it adds ‘noise’ and will exaggerate the grain of the film
The next task is to remove dust and scratches – there will always be some however careful you are with your negative. In addition analogue film processing is never perfect – even if done professionally, occasionally there will be drying marks and also spots from bubbles in the developer. Never use automated ‘dust and scratch removal’ these algorithms will always diminish image quality.


First of all zoom your image up to 100% and now use the ‘repair’ tool with a brush size of about 20 – 30 pixels. carefully go over the whole image clicking on each dust spot or unsightly mark. They will tend to be more obvious in flat regions of the image (like skies or walls). The repair tool in photoshop is good – it will replace spots and scratches in a ‘context sensitive’ way, maintaining the ambient tonal values and texture. You might have to adjust your brush size occasionally, because if you accidentally include a contrasting region the repair algorithm can struggle – be prepared to step back (command Z) and try again every now and then!

You now have an ‘optimised raw scan’ – save the image as a TIFF – I usually replace the original scanned file as this doesn’t need to be kept. Your optimised file is still large but probably about half the size of the original scanned file.
You can now do whatever further adjustments and cropping you want – In this case I think the image benefits being cropped to a square format and I have shifted the mid-point to the right a little (darkened the image). I now export my ‘final’ image as a JPEG (File -> Export -> Export as)

As you can see the exported final image even at ‘Excellent’ quality compression level is only about 3.7mb (nearly a 10th the size of the original scan) and is still a 27 mega pixel image – which is enough to print up to a metre square picture.

Final image. Click on the image to see the full media file – use the zoom tool to examine it at 1:1 pixel ratio on your screen – you can see the grain of the 400 ASA film which gives it a character and quality you will never achieve with a digital camera…
Leave a Reply