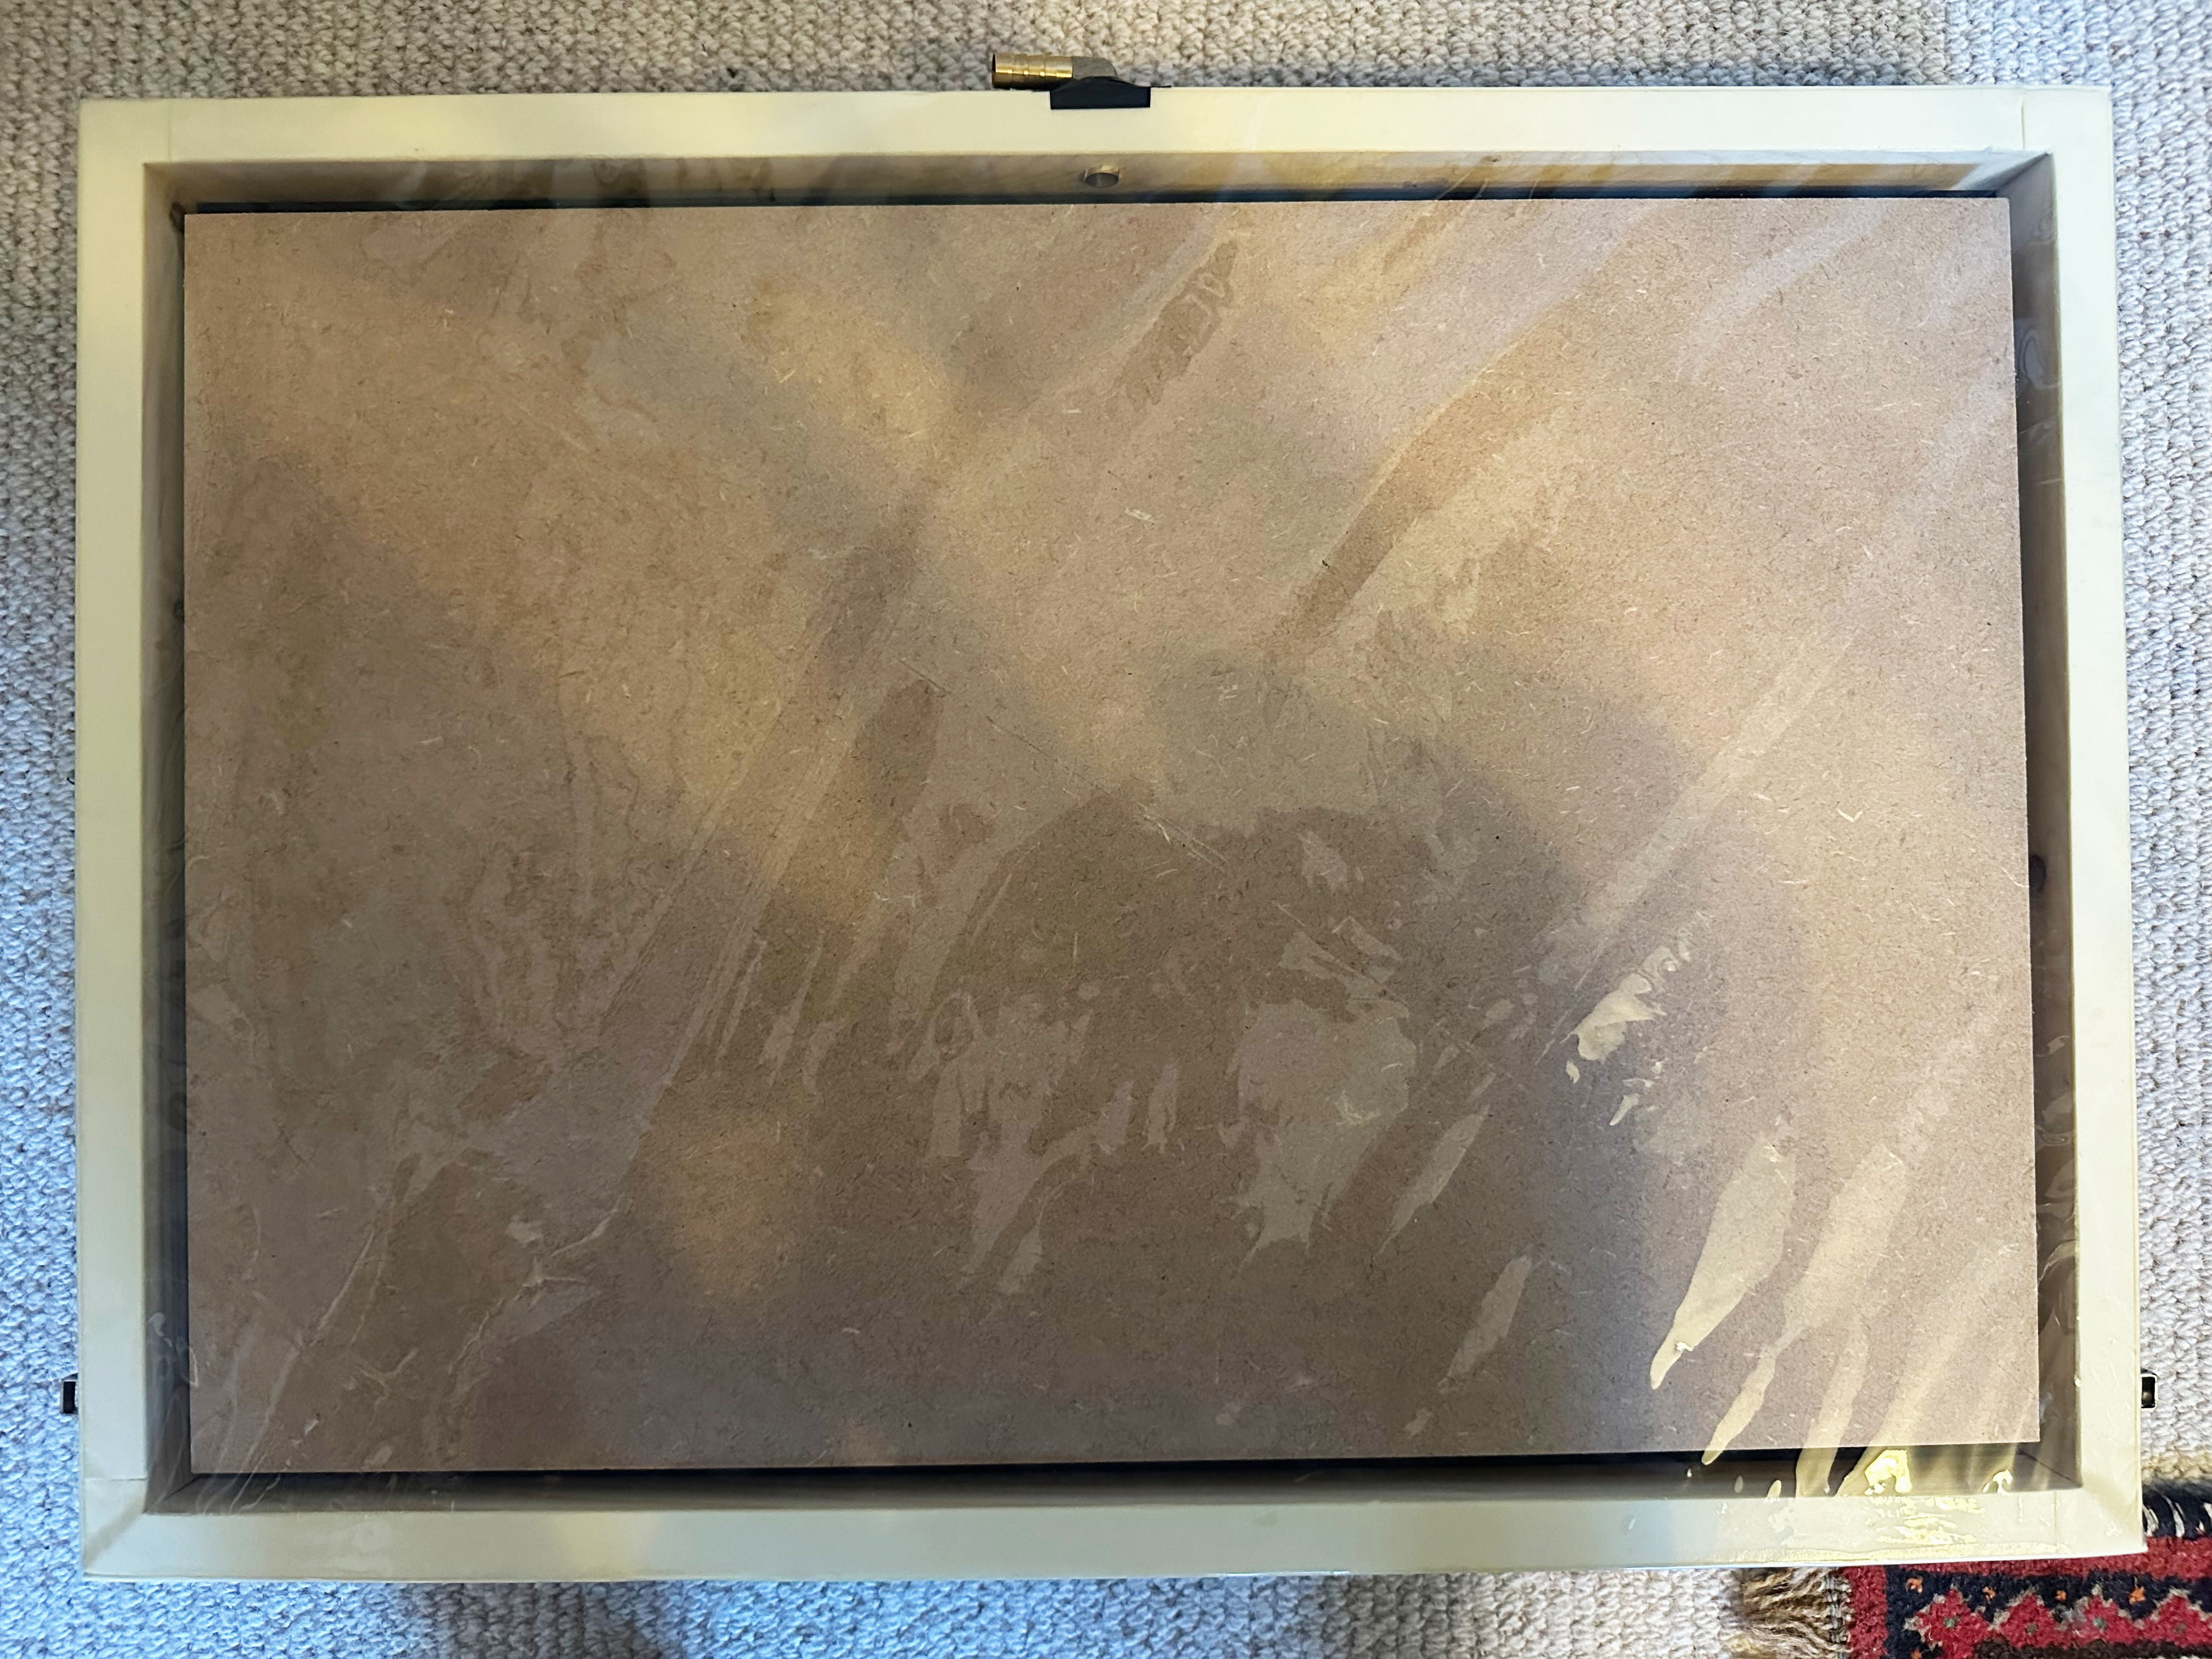
Parts list
Most of these parts can be found at your local DIY store or online. The most challenging part to source is the UV transparent FEP film - I found a company called Adtech that sell lengths cut from a roll. The most expensive part is the vacuum pump - I went for the Stonylab R32 two stage rotary vane vacuum pump available on Amazon for about £90
Construction
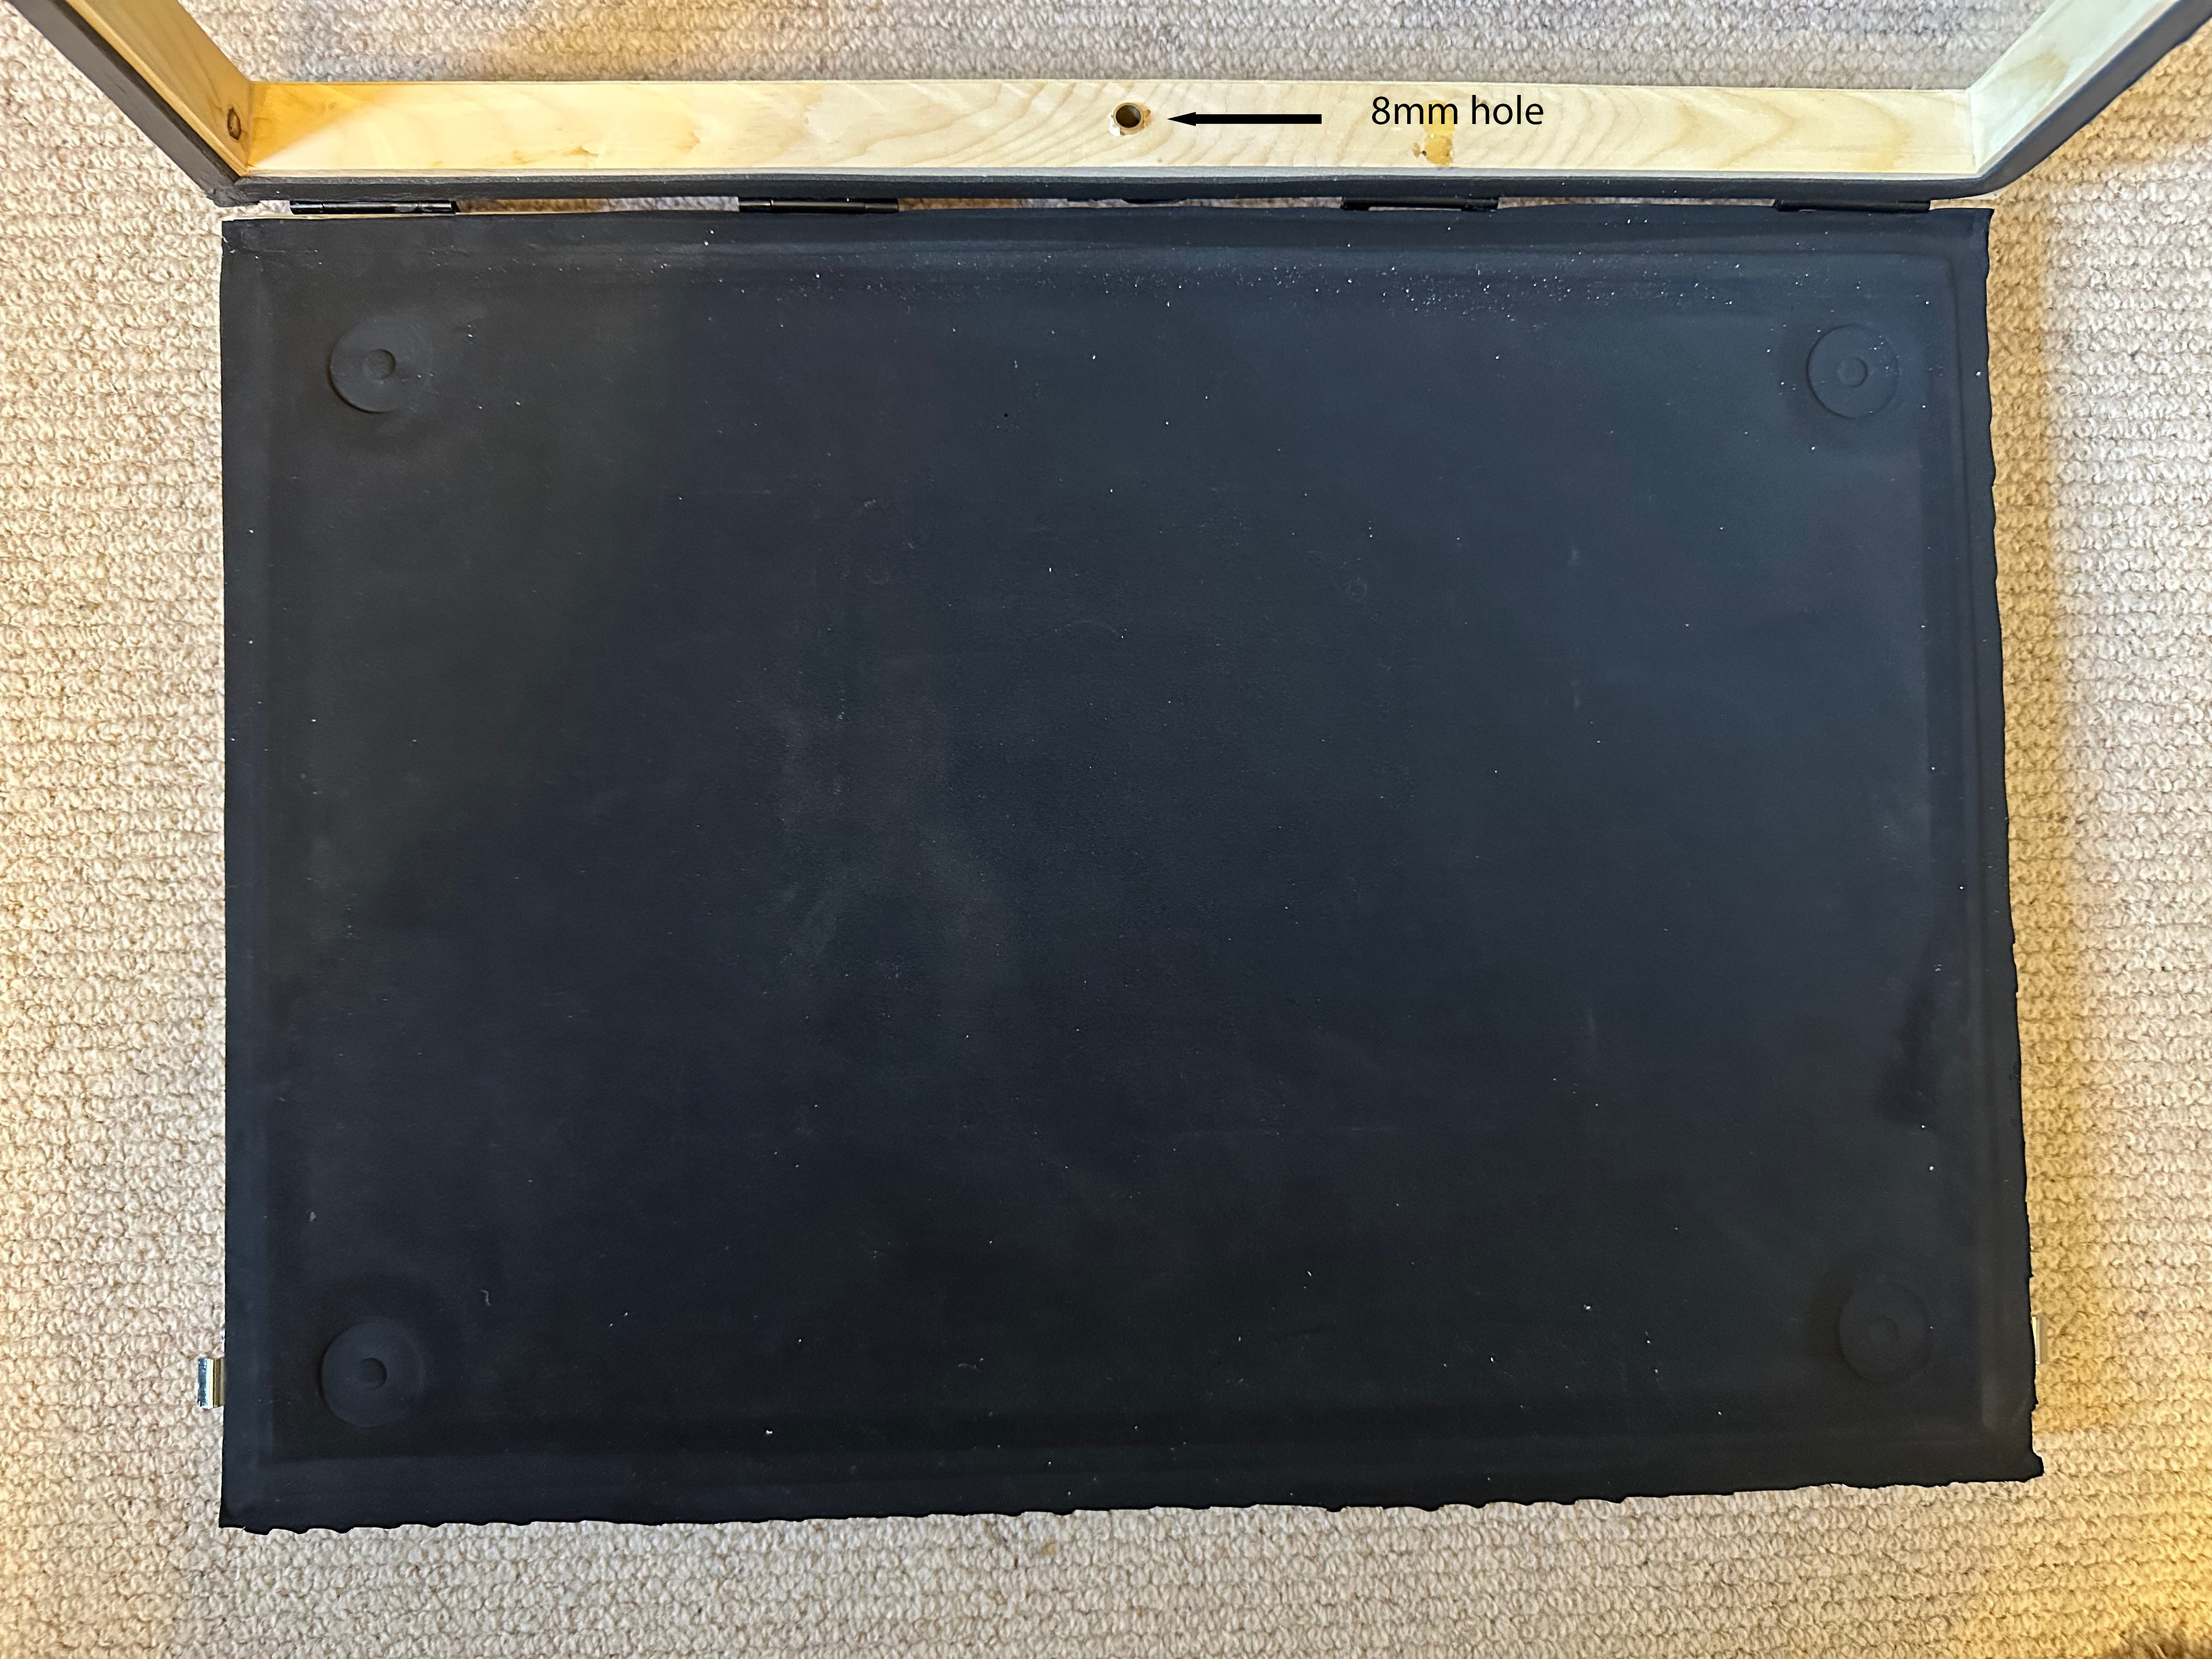
Cut the neoprene sheet to the size of your base board and stick it to the top surface of the board with a strong PVA glue (like Gorilla Glue). Make a frame with mitred corners from the planed pine wood strips to the exact dimensions of the base board. I would reccomend gluing the corners and reinforcing them with brackets - your aim is to make the frame ultimately airtight. Carefully drill a 8mm hole in the centre of the rear width of the frame from the inside face to the outside.
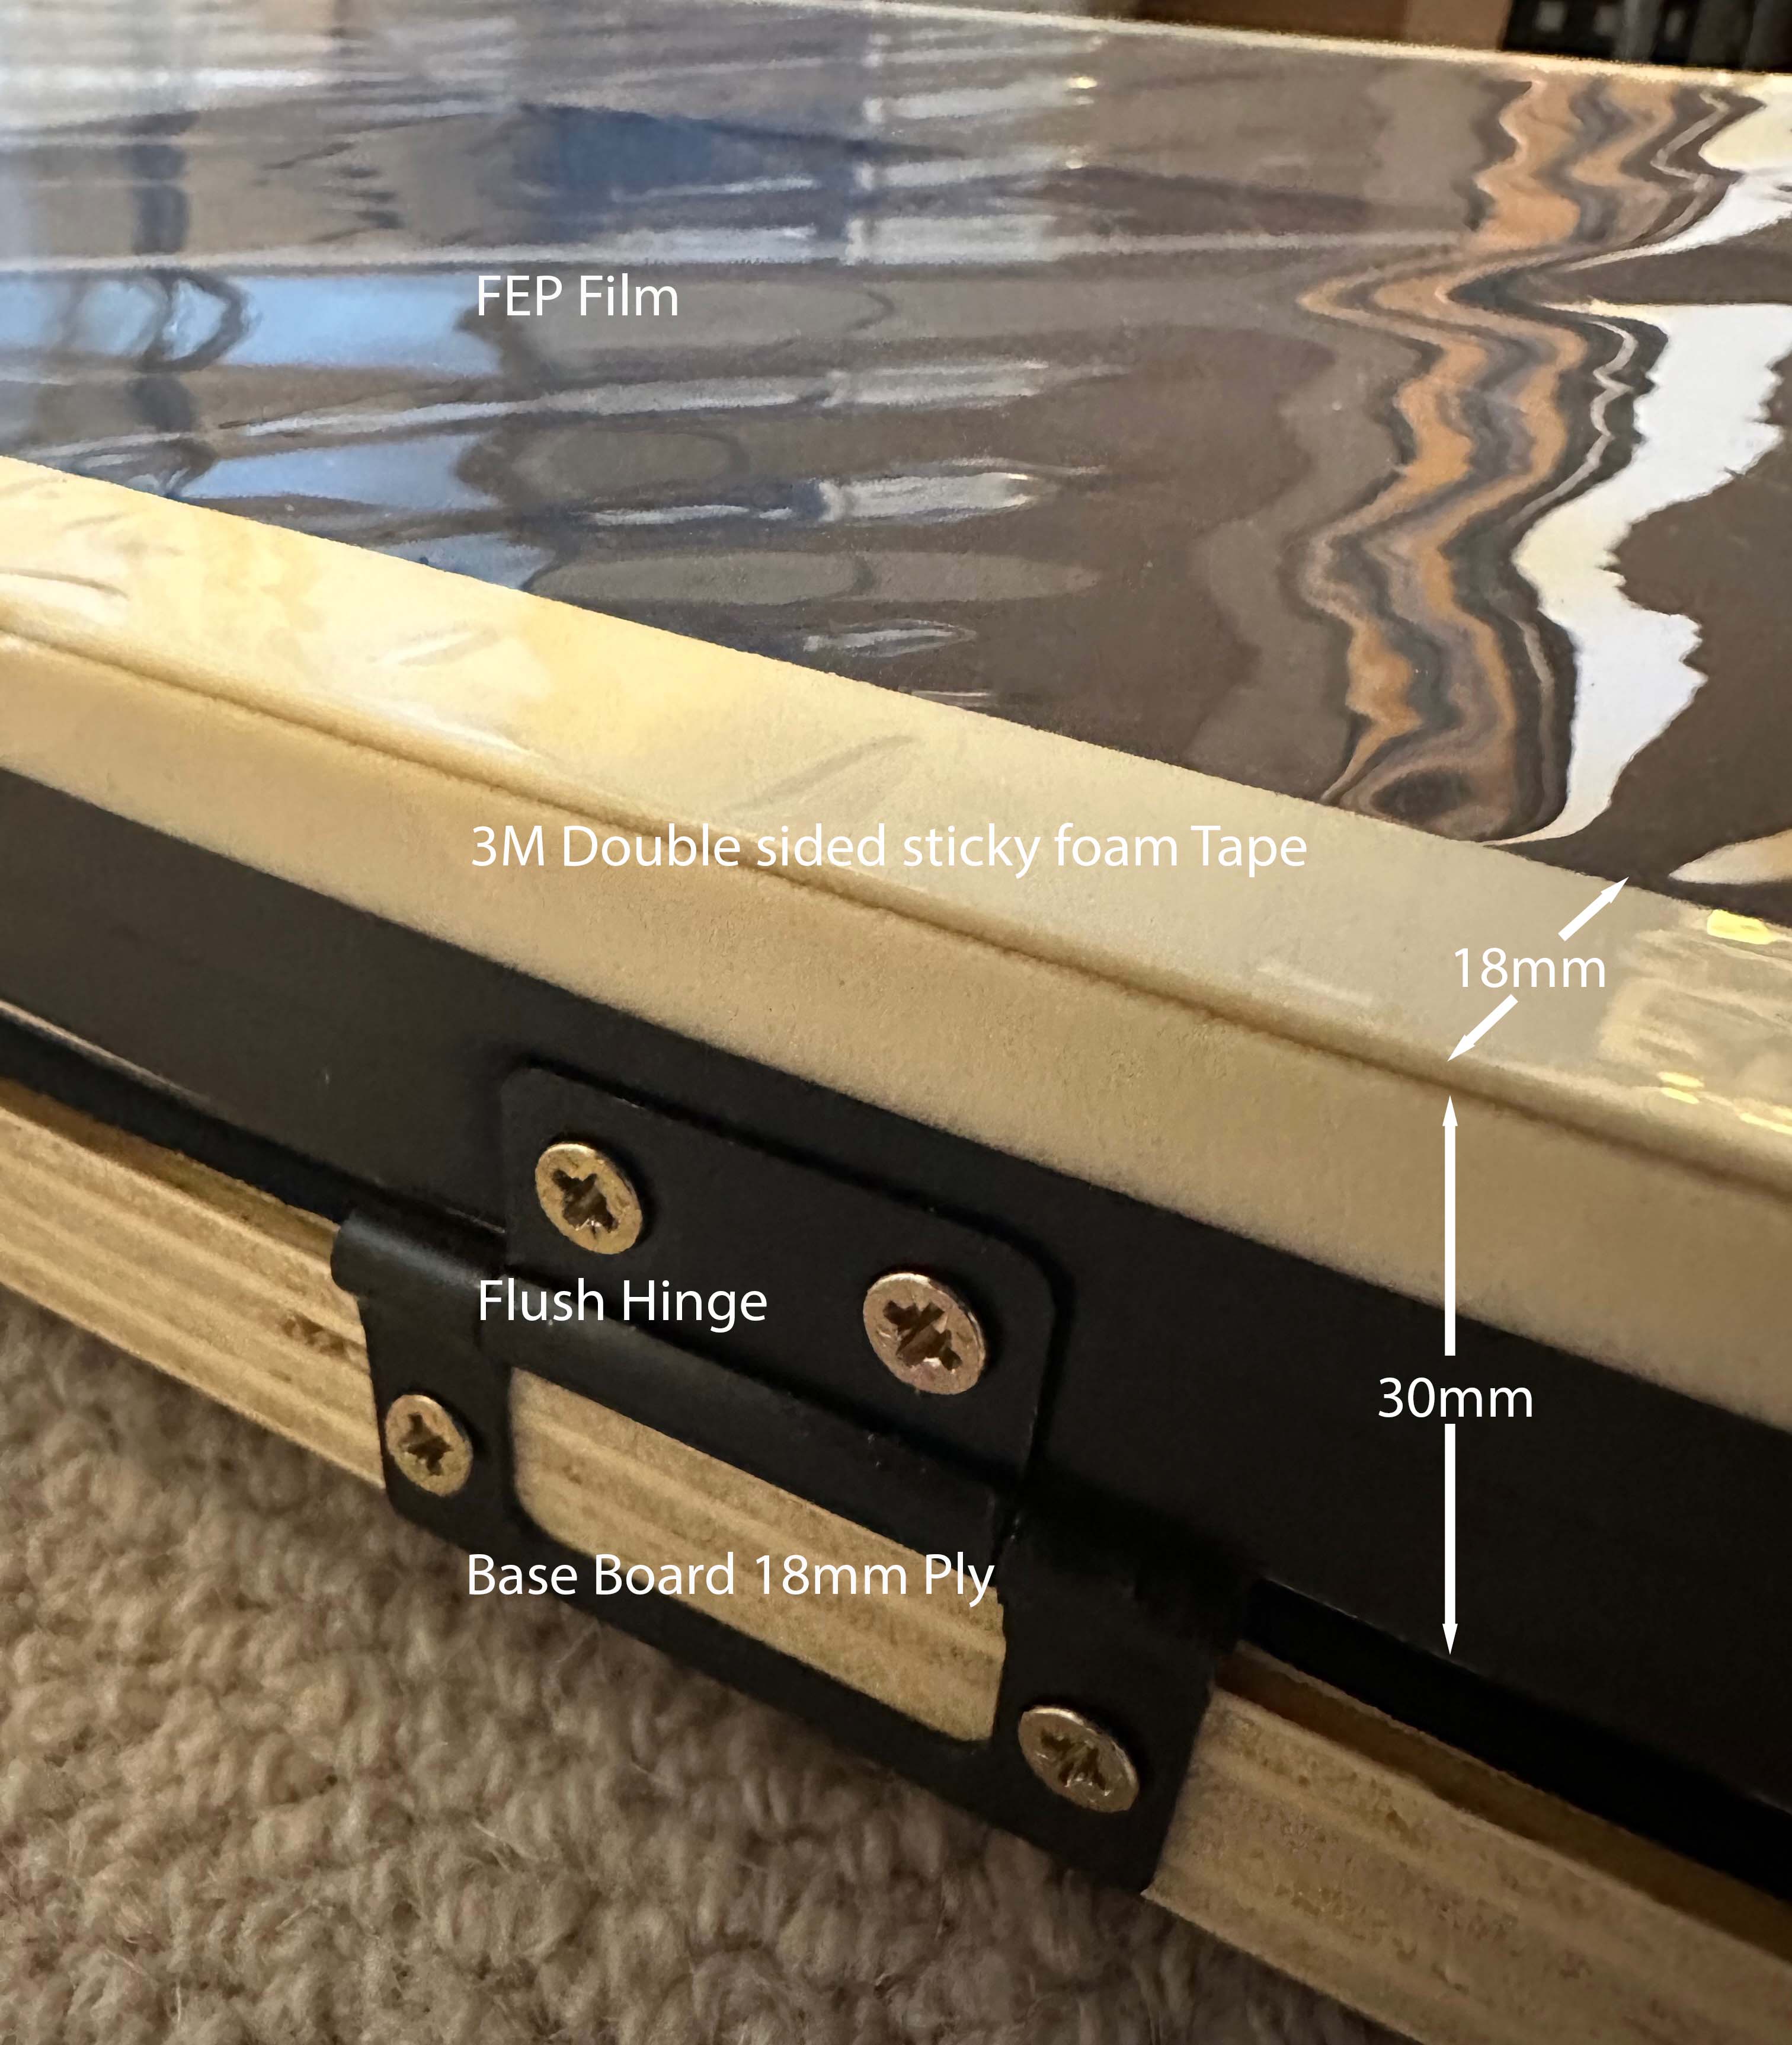
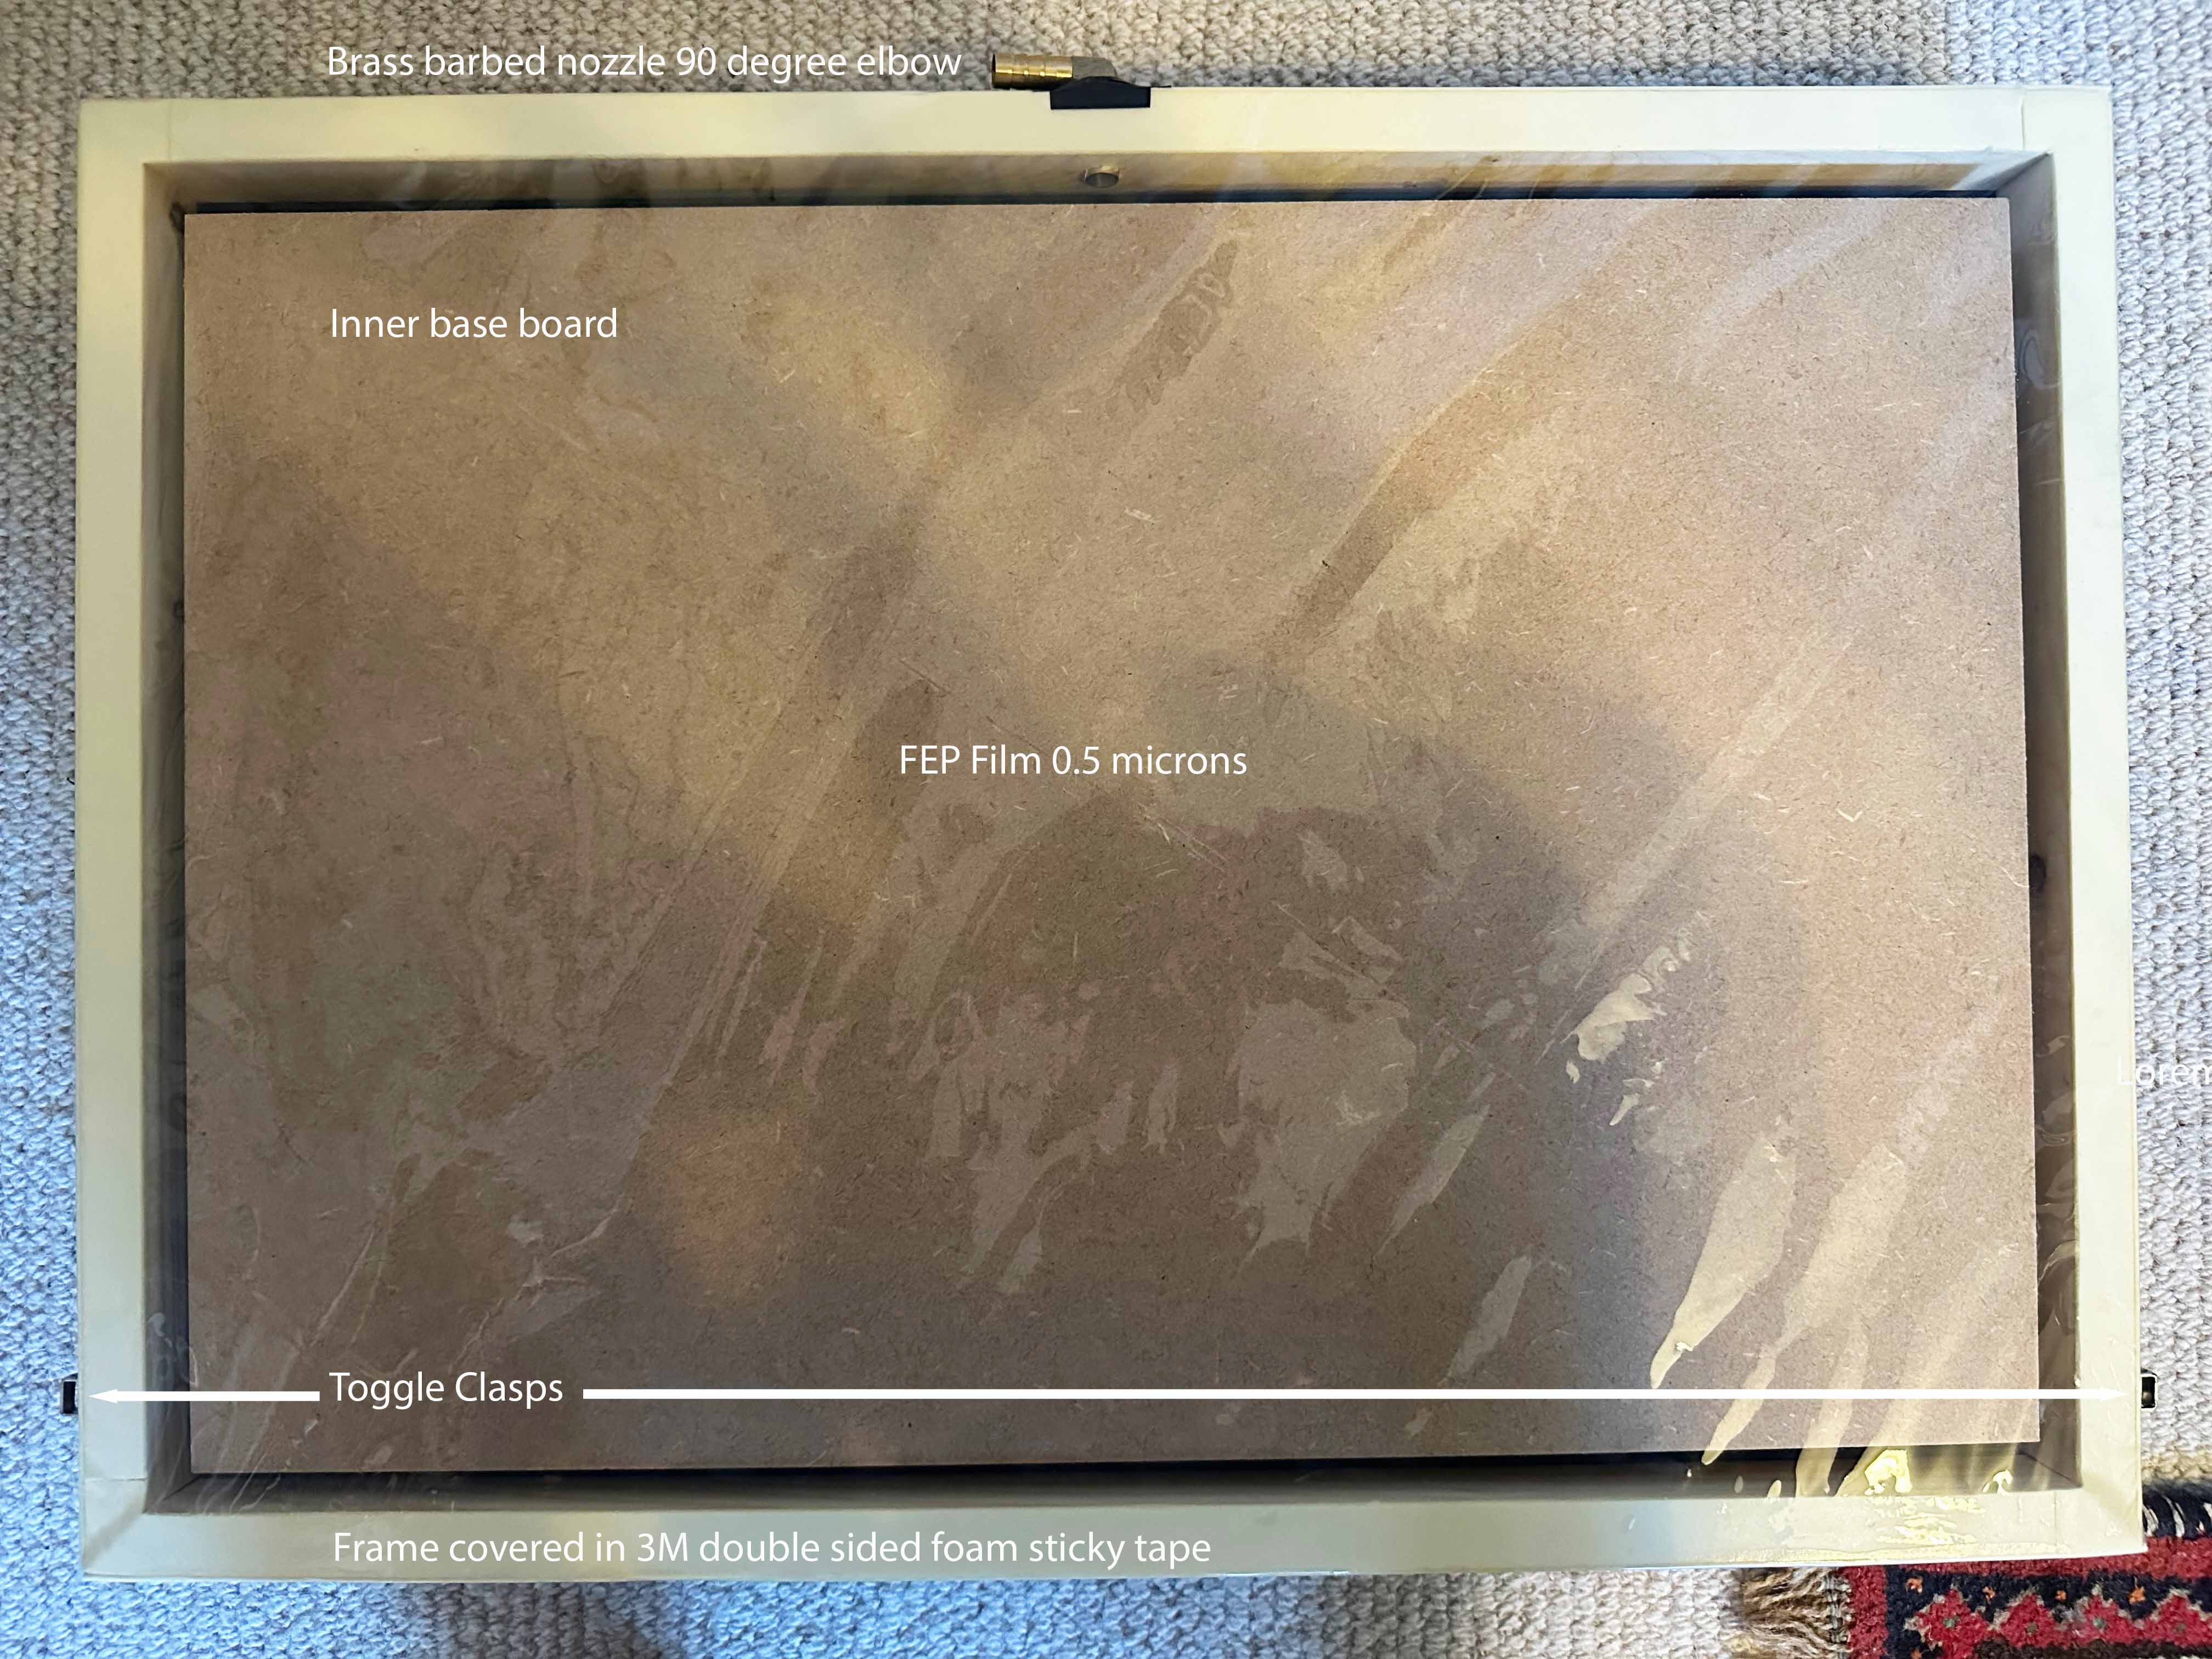
Its time to fix the FEP film - to do this you need to cover both the top edge and outside edge of the frame with 3M double sided foam tape (this is super strong adhesive tape used in manufacturing to attach things like car body panels). It is important that again there are no gaps - try and stagger any joins on the top edge with the outside edge. You will need a hole in the adhesive tape where the hole for the nozzle is. Now cut your FEP film to a size that covers the area of the frame and also about +5cm to each side, front and back. Lay the film on a large flat surface - now remove all the backing tape from the 3M foam tape - be careful it is very sticky and will pickup anything it touches. Carefully place the frame sticky tape down into the centre of the sheet of FEP film. Now carefully lift each edge of the frame to 90 degrees in turn to stick the film to the outside edge of the frame. The film should now be attached to the frame looking somewhat like a table cloth - fold in the corners and stick these down with electrical insulating tape. I actually put tape around the whole circumfrence of the frame. Trim any excess film around the edges.
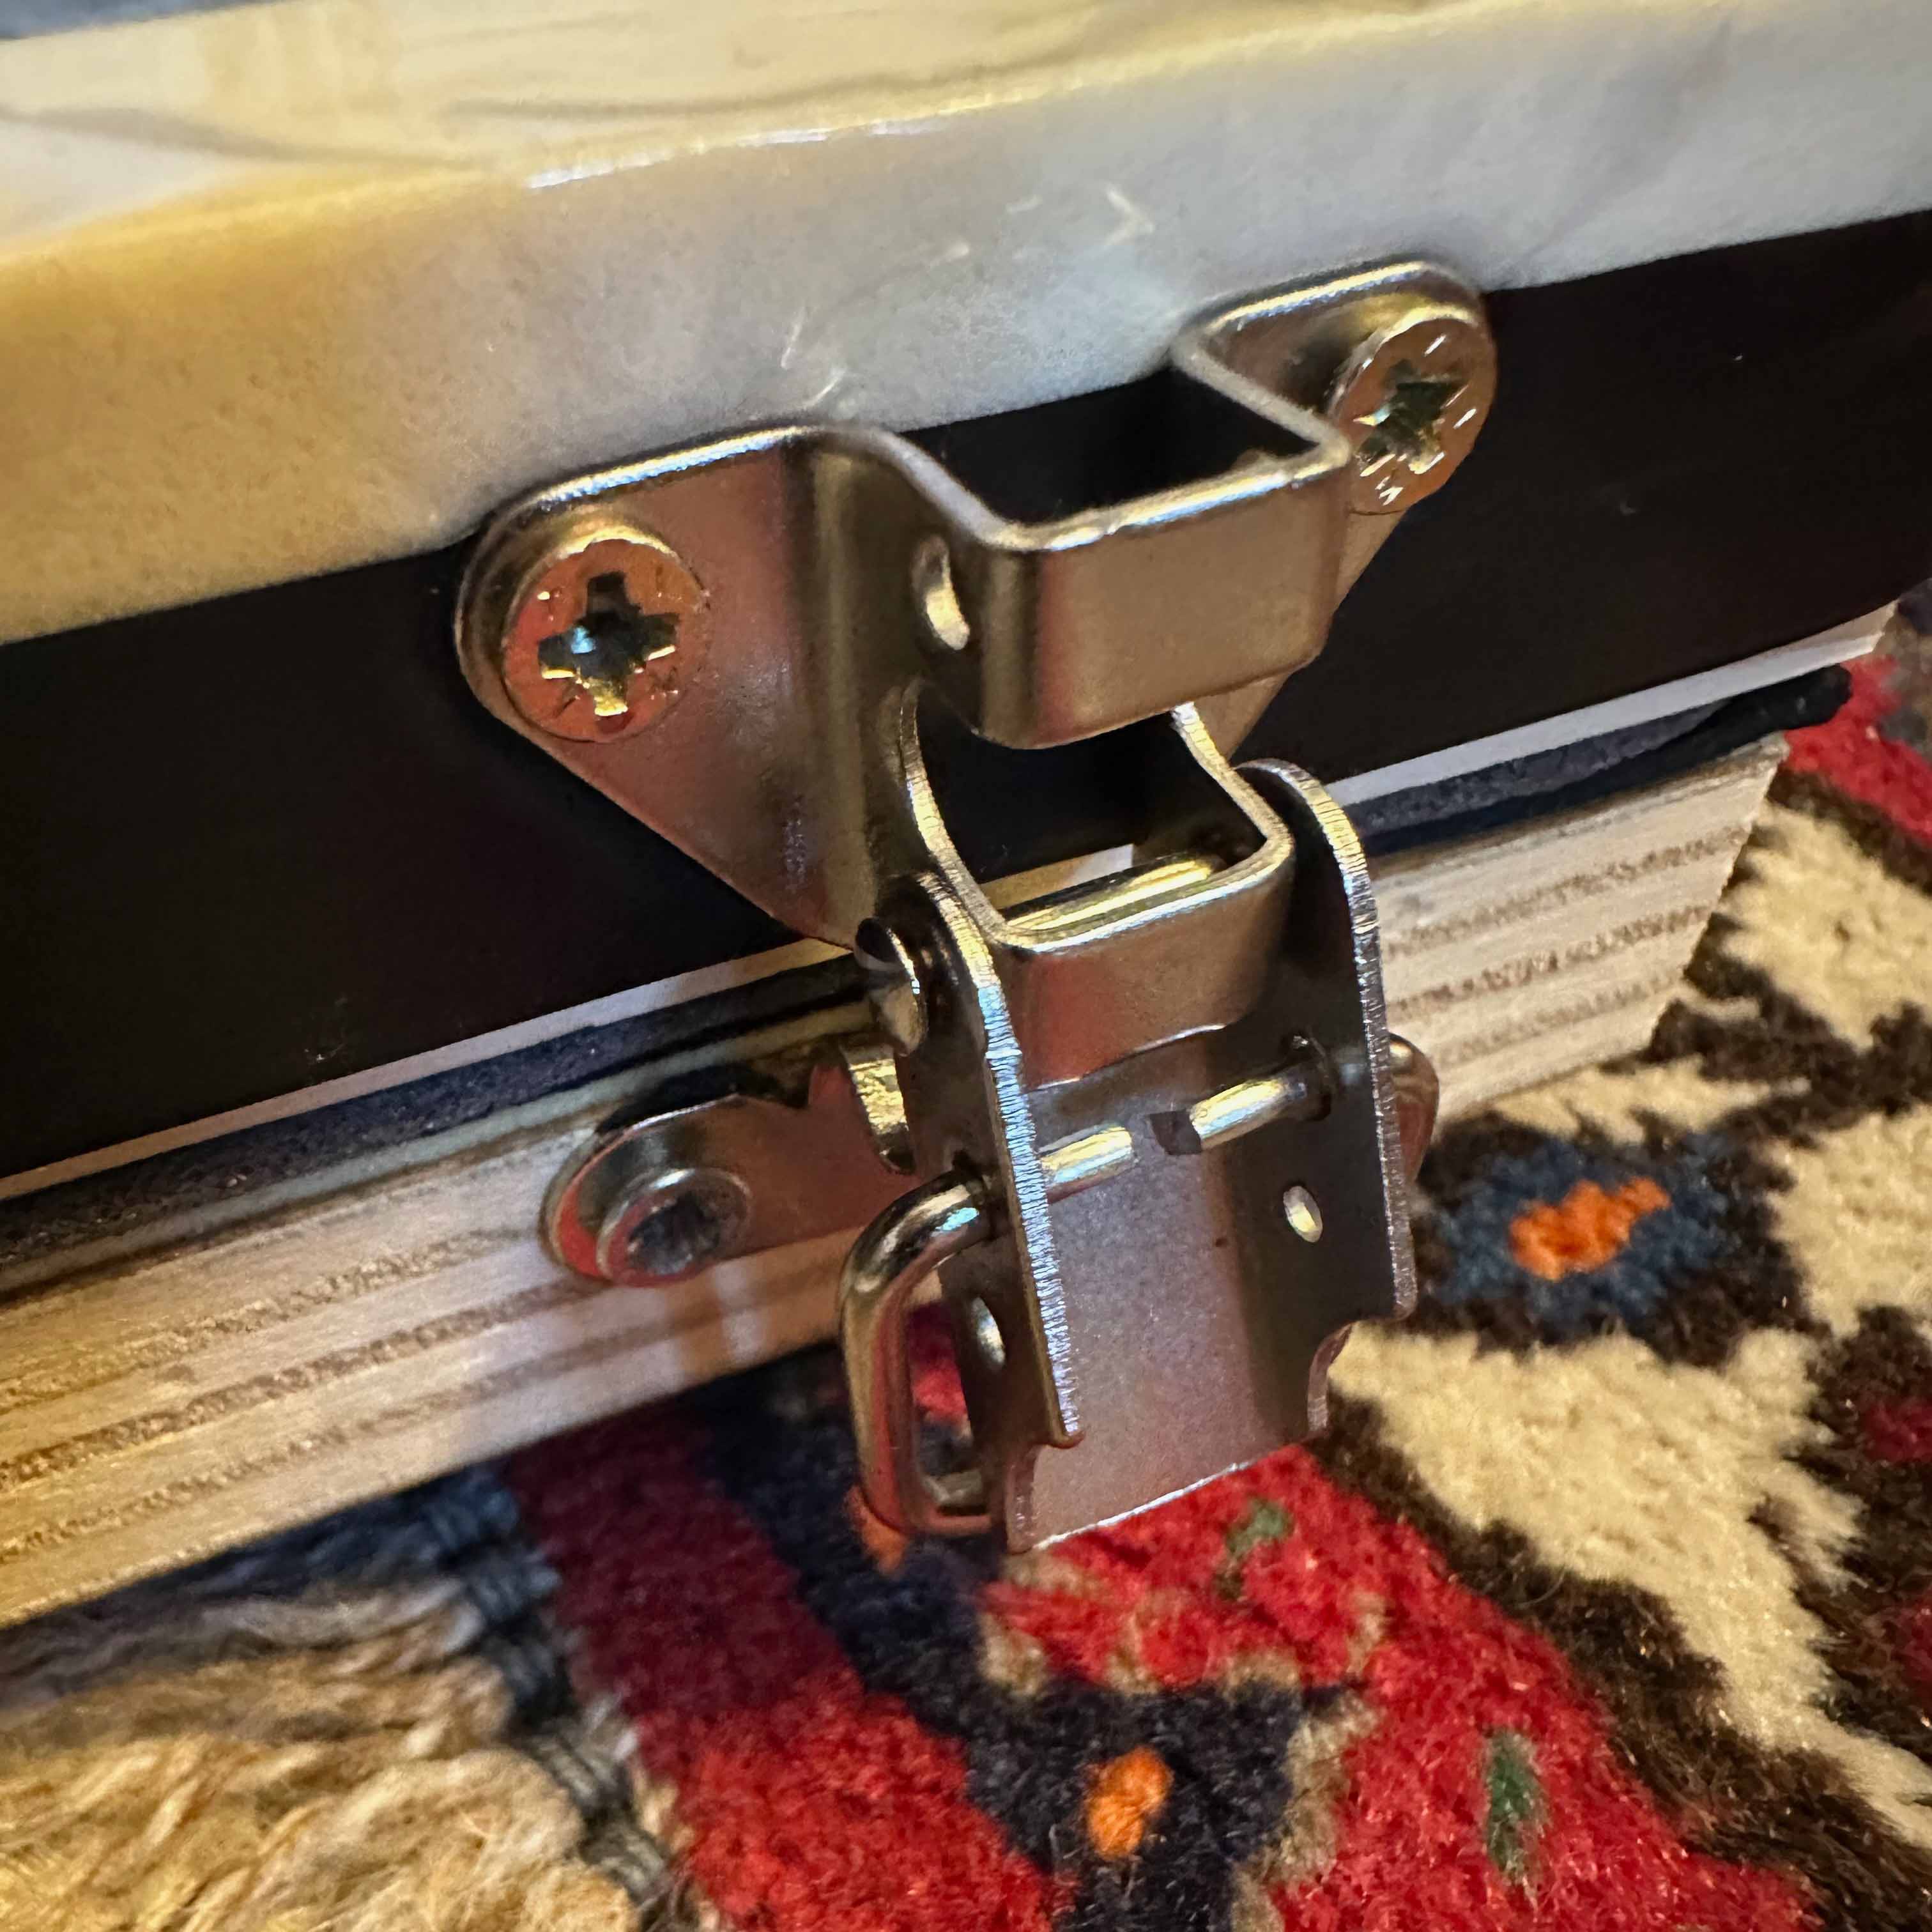
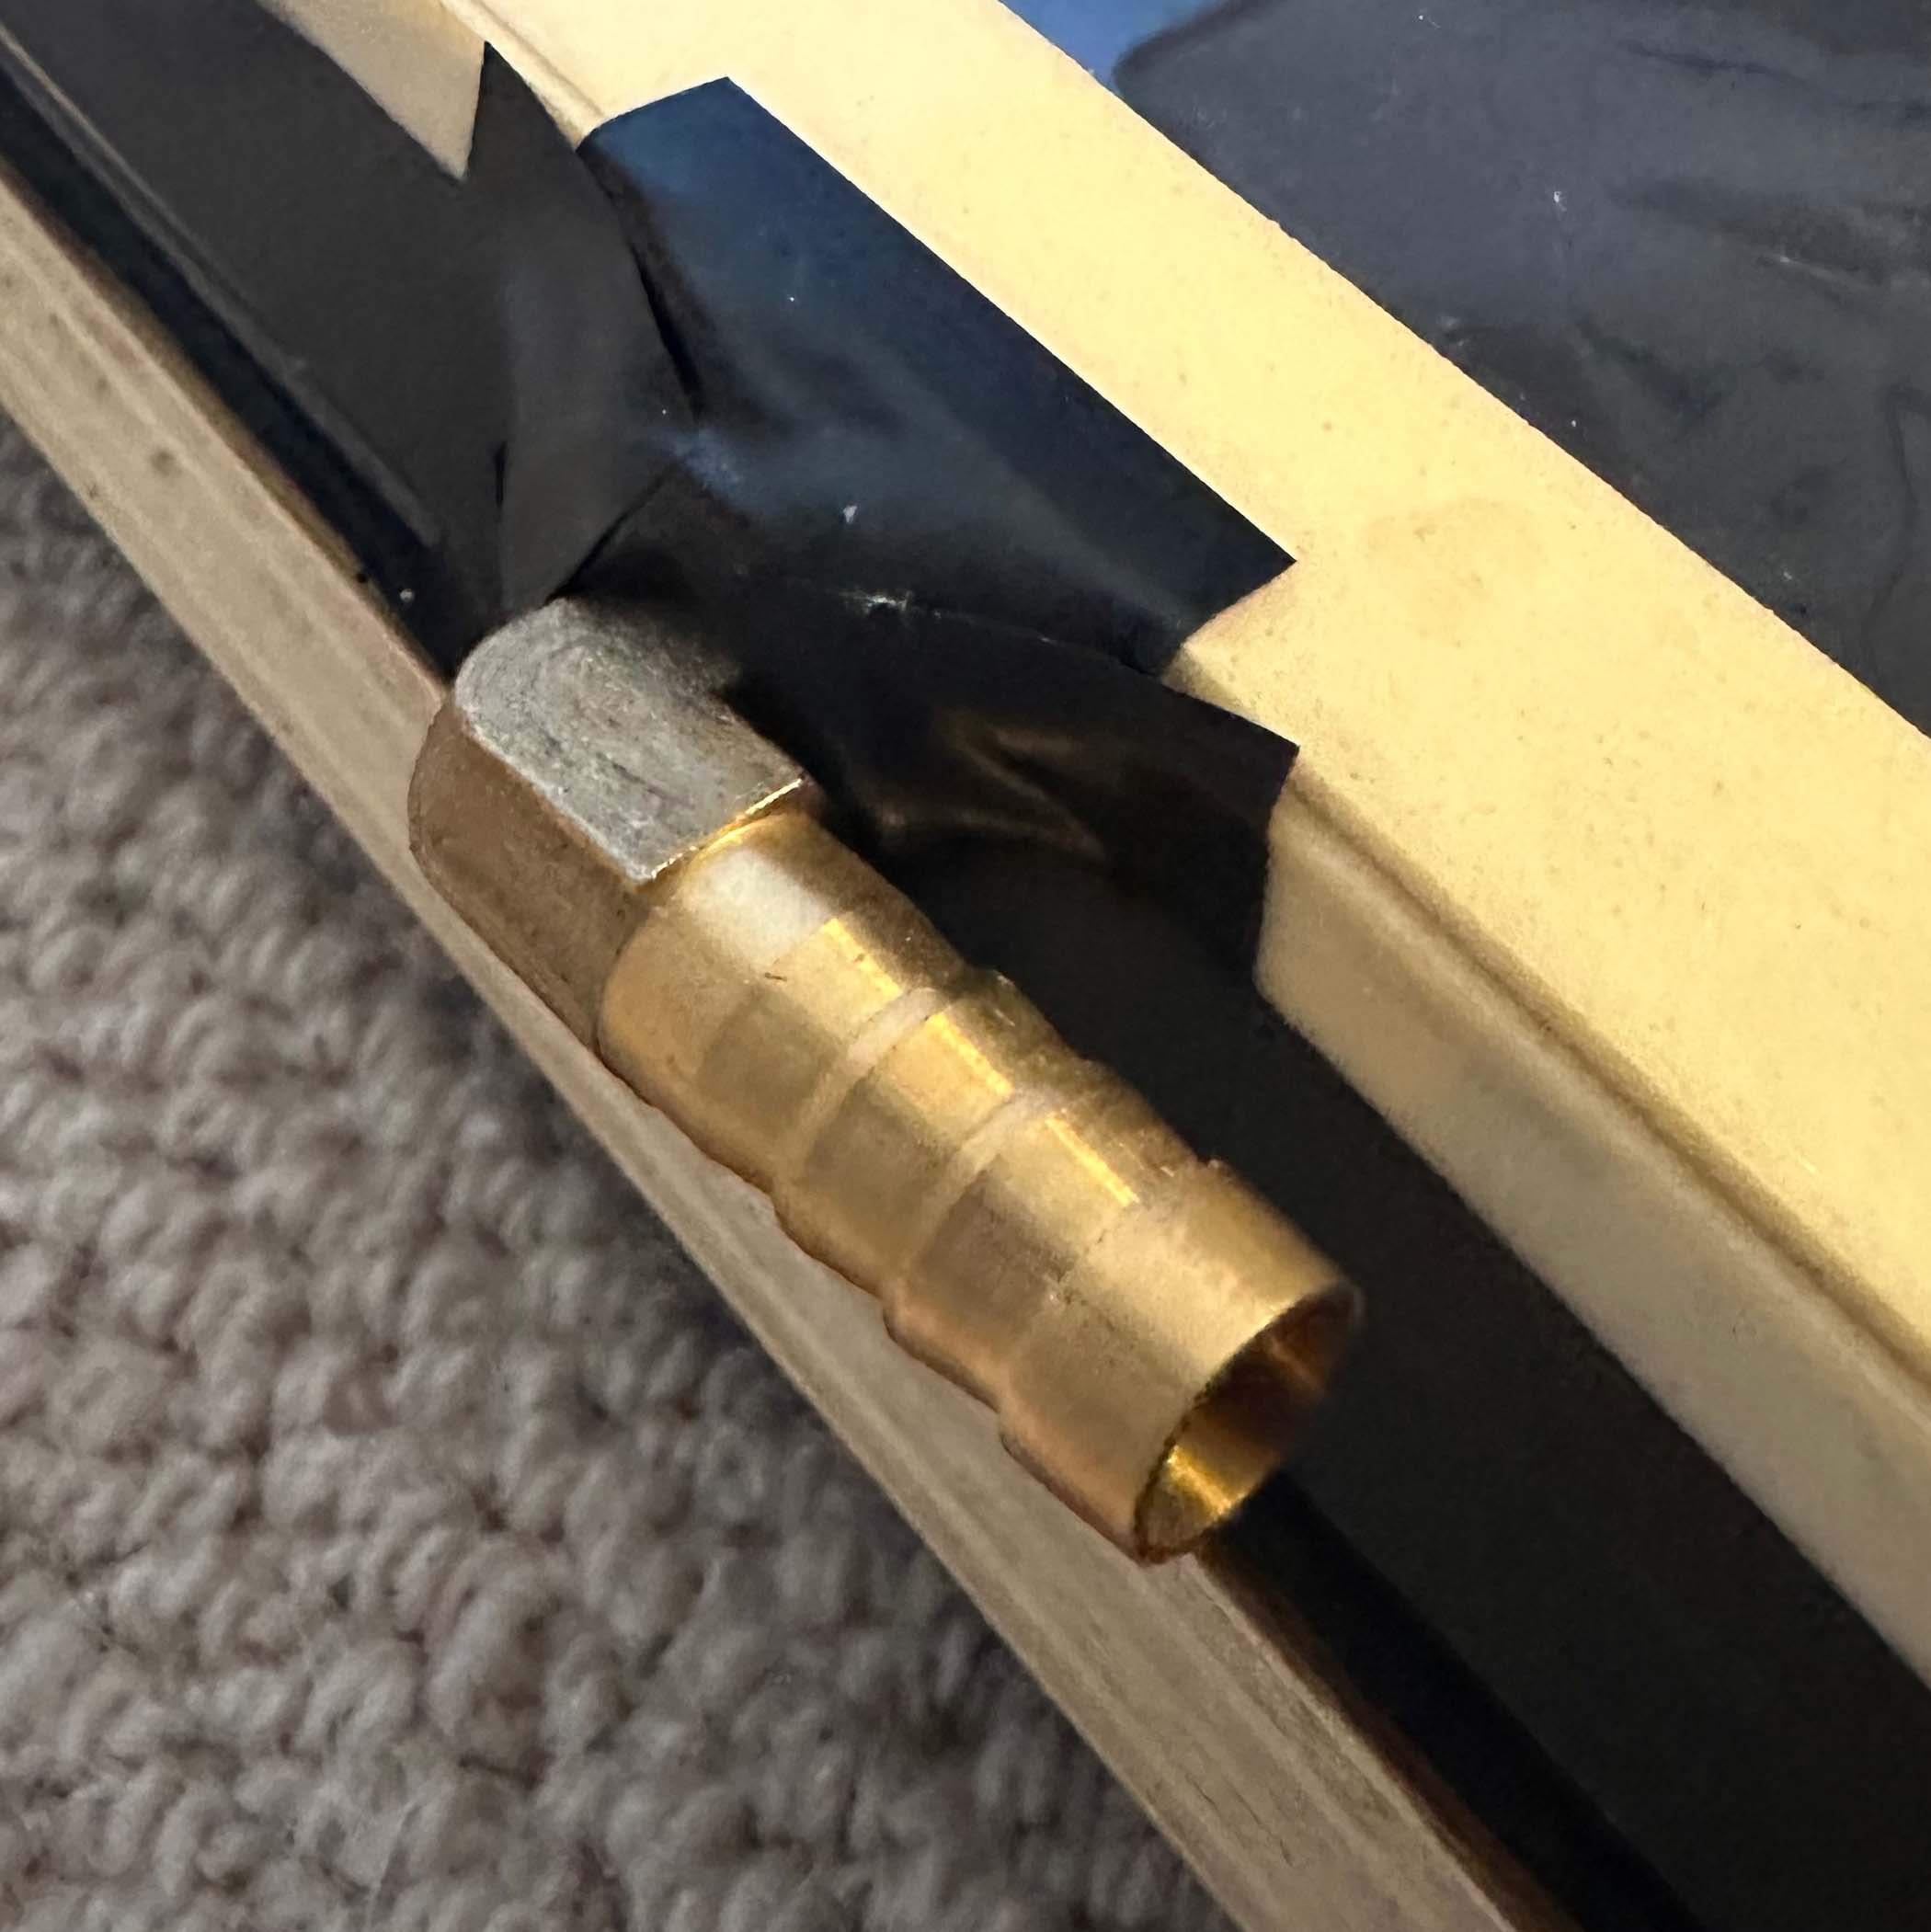
Now attach the frame to the base board with the flush hinges and also attach the two toggle latch clasps to the outside of the front corners of the frame and the reciprocal hooks to the base board. The brass 90 degree elbow barbed nozzle can now be firmly pushed through the hole - with the vacant end of the nozzle on the outside of the frame. Again you are trying to achieve airtightness so glue or a dab of silicone mastick around the nozzle will help with this. You can now stick the draft excluder strip to the inside edge of the frame - you need a single strip for the entire circumfrence of the frame starting in the middle of the back and returning to that point slightly overlap the two ends of the draft excluder strip so there is no gap. Attach four rubber feet to the underside of the base board (I used strips of the 3M adhesive tape for this)
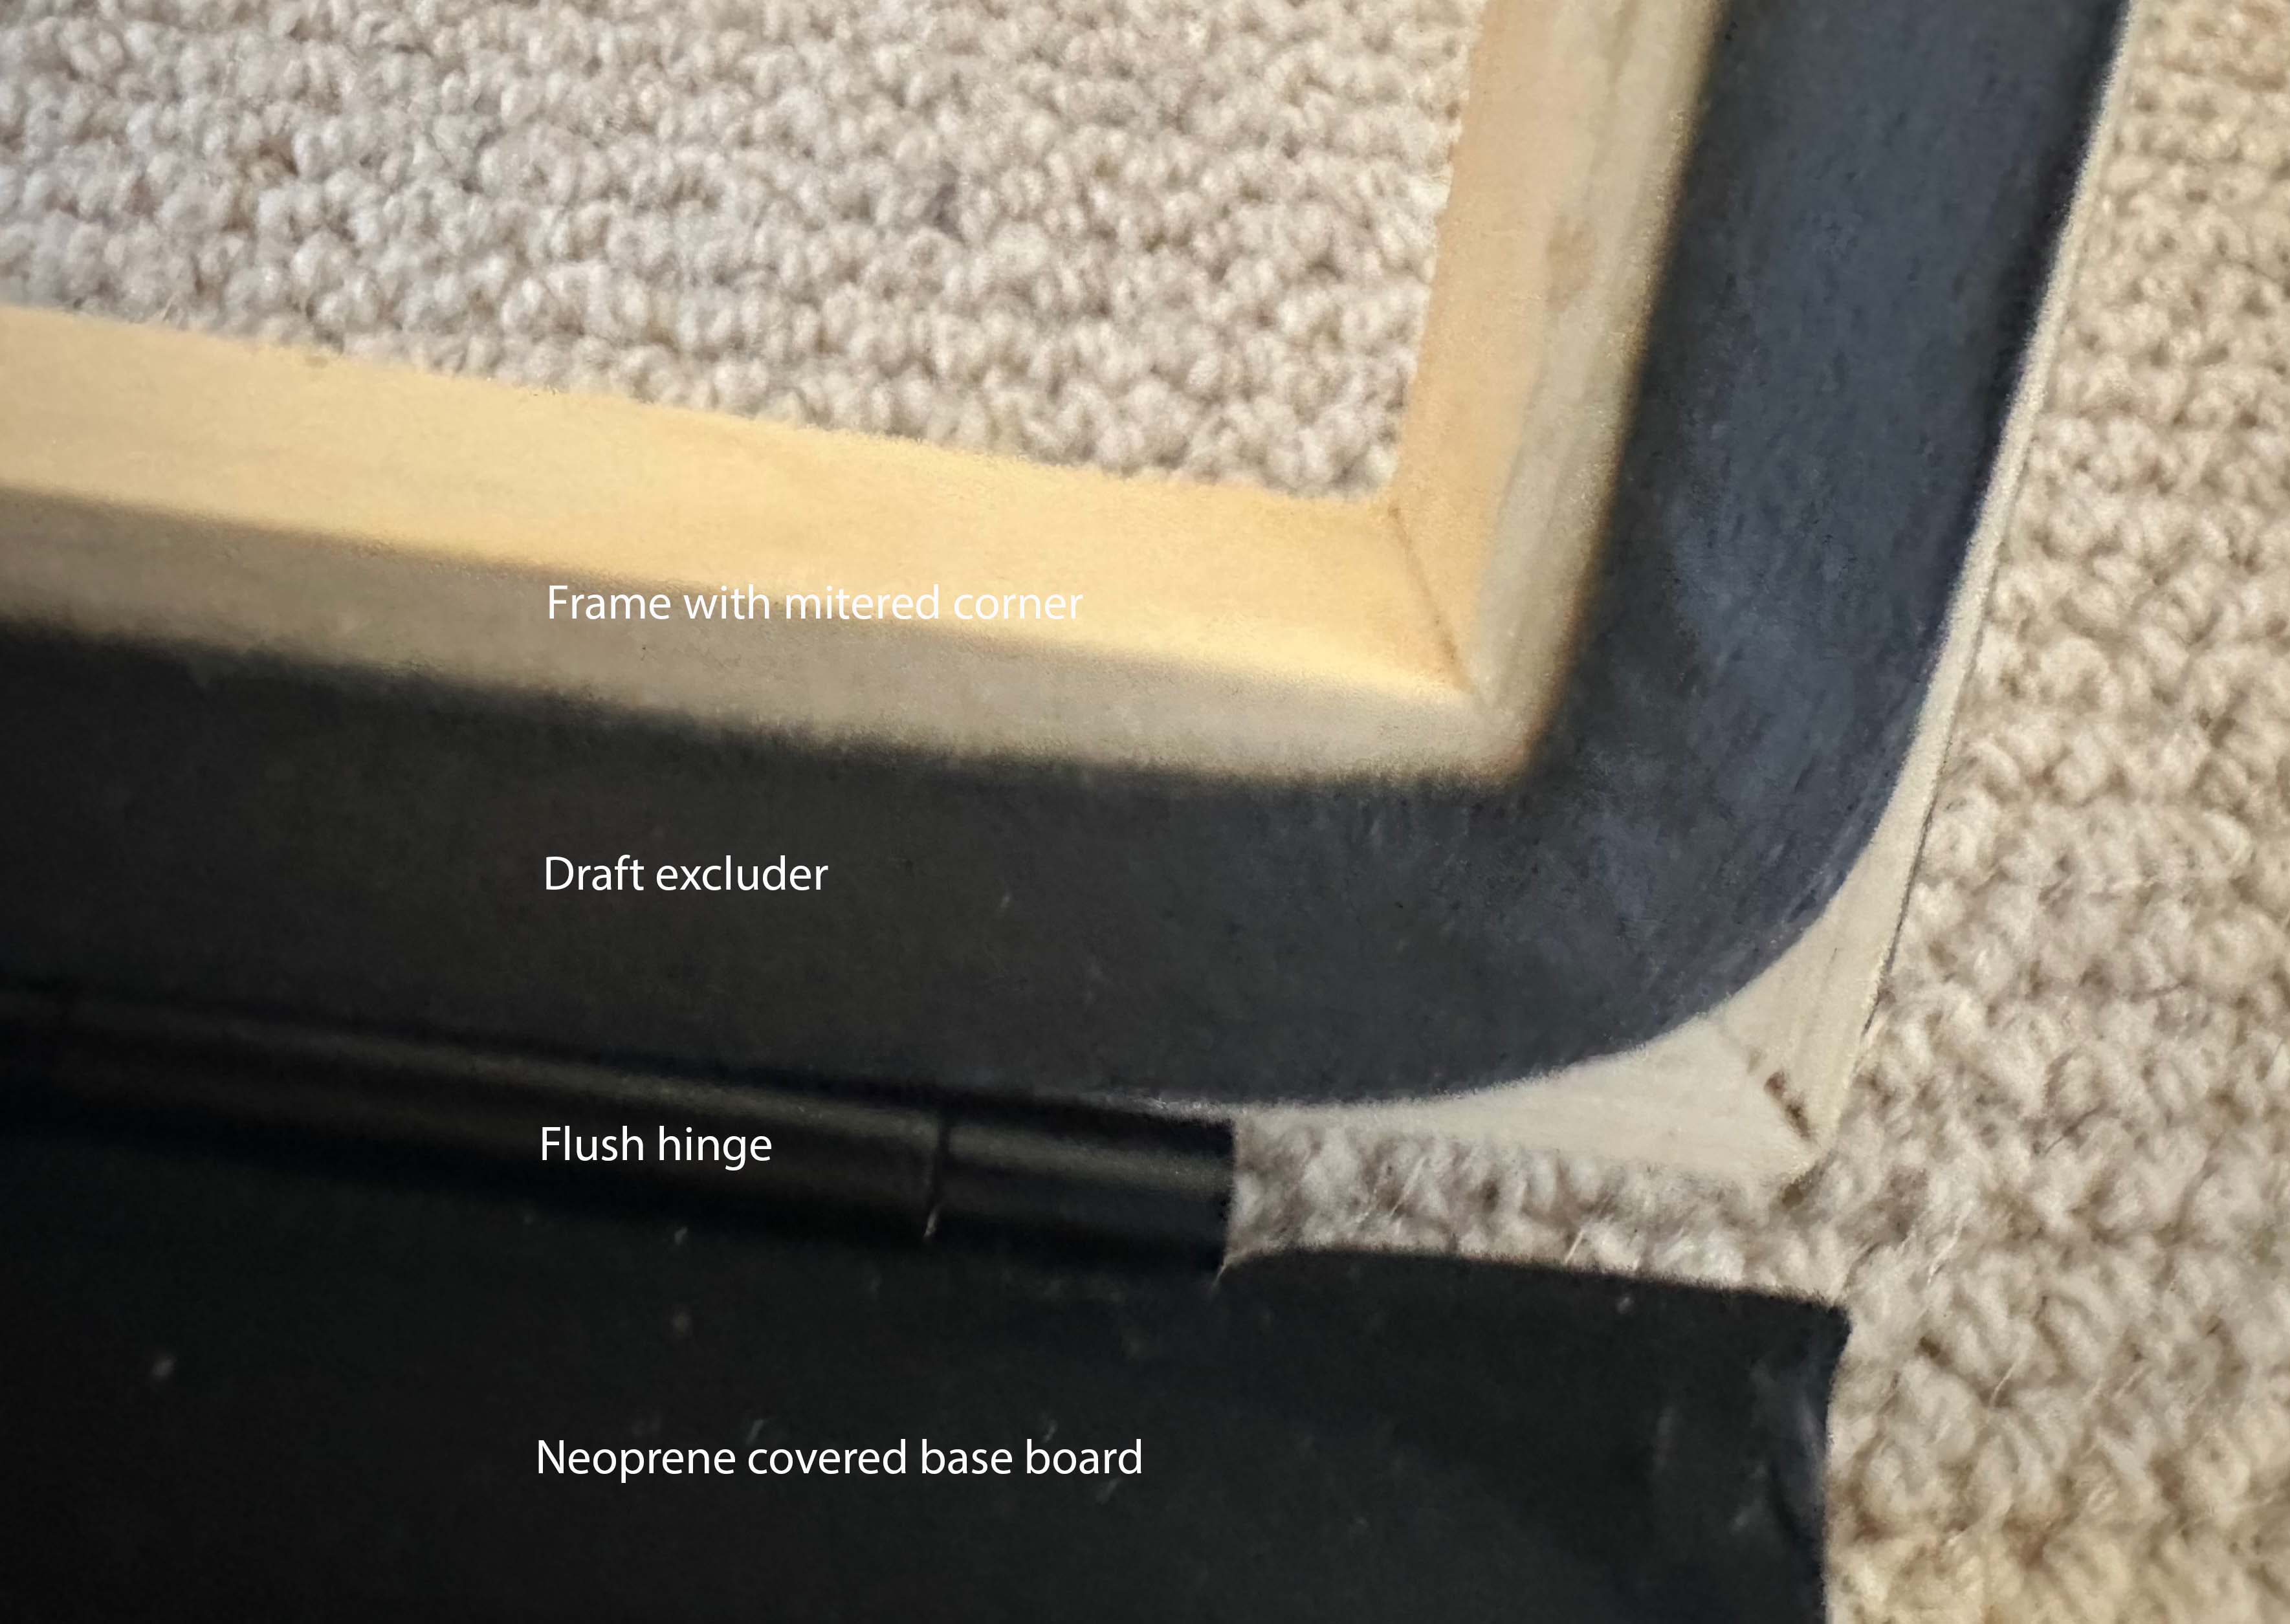
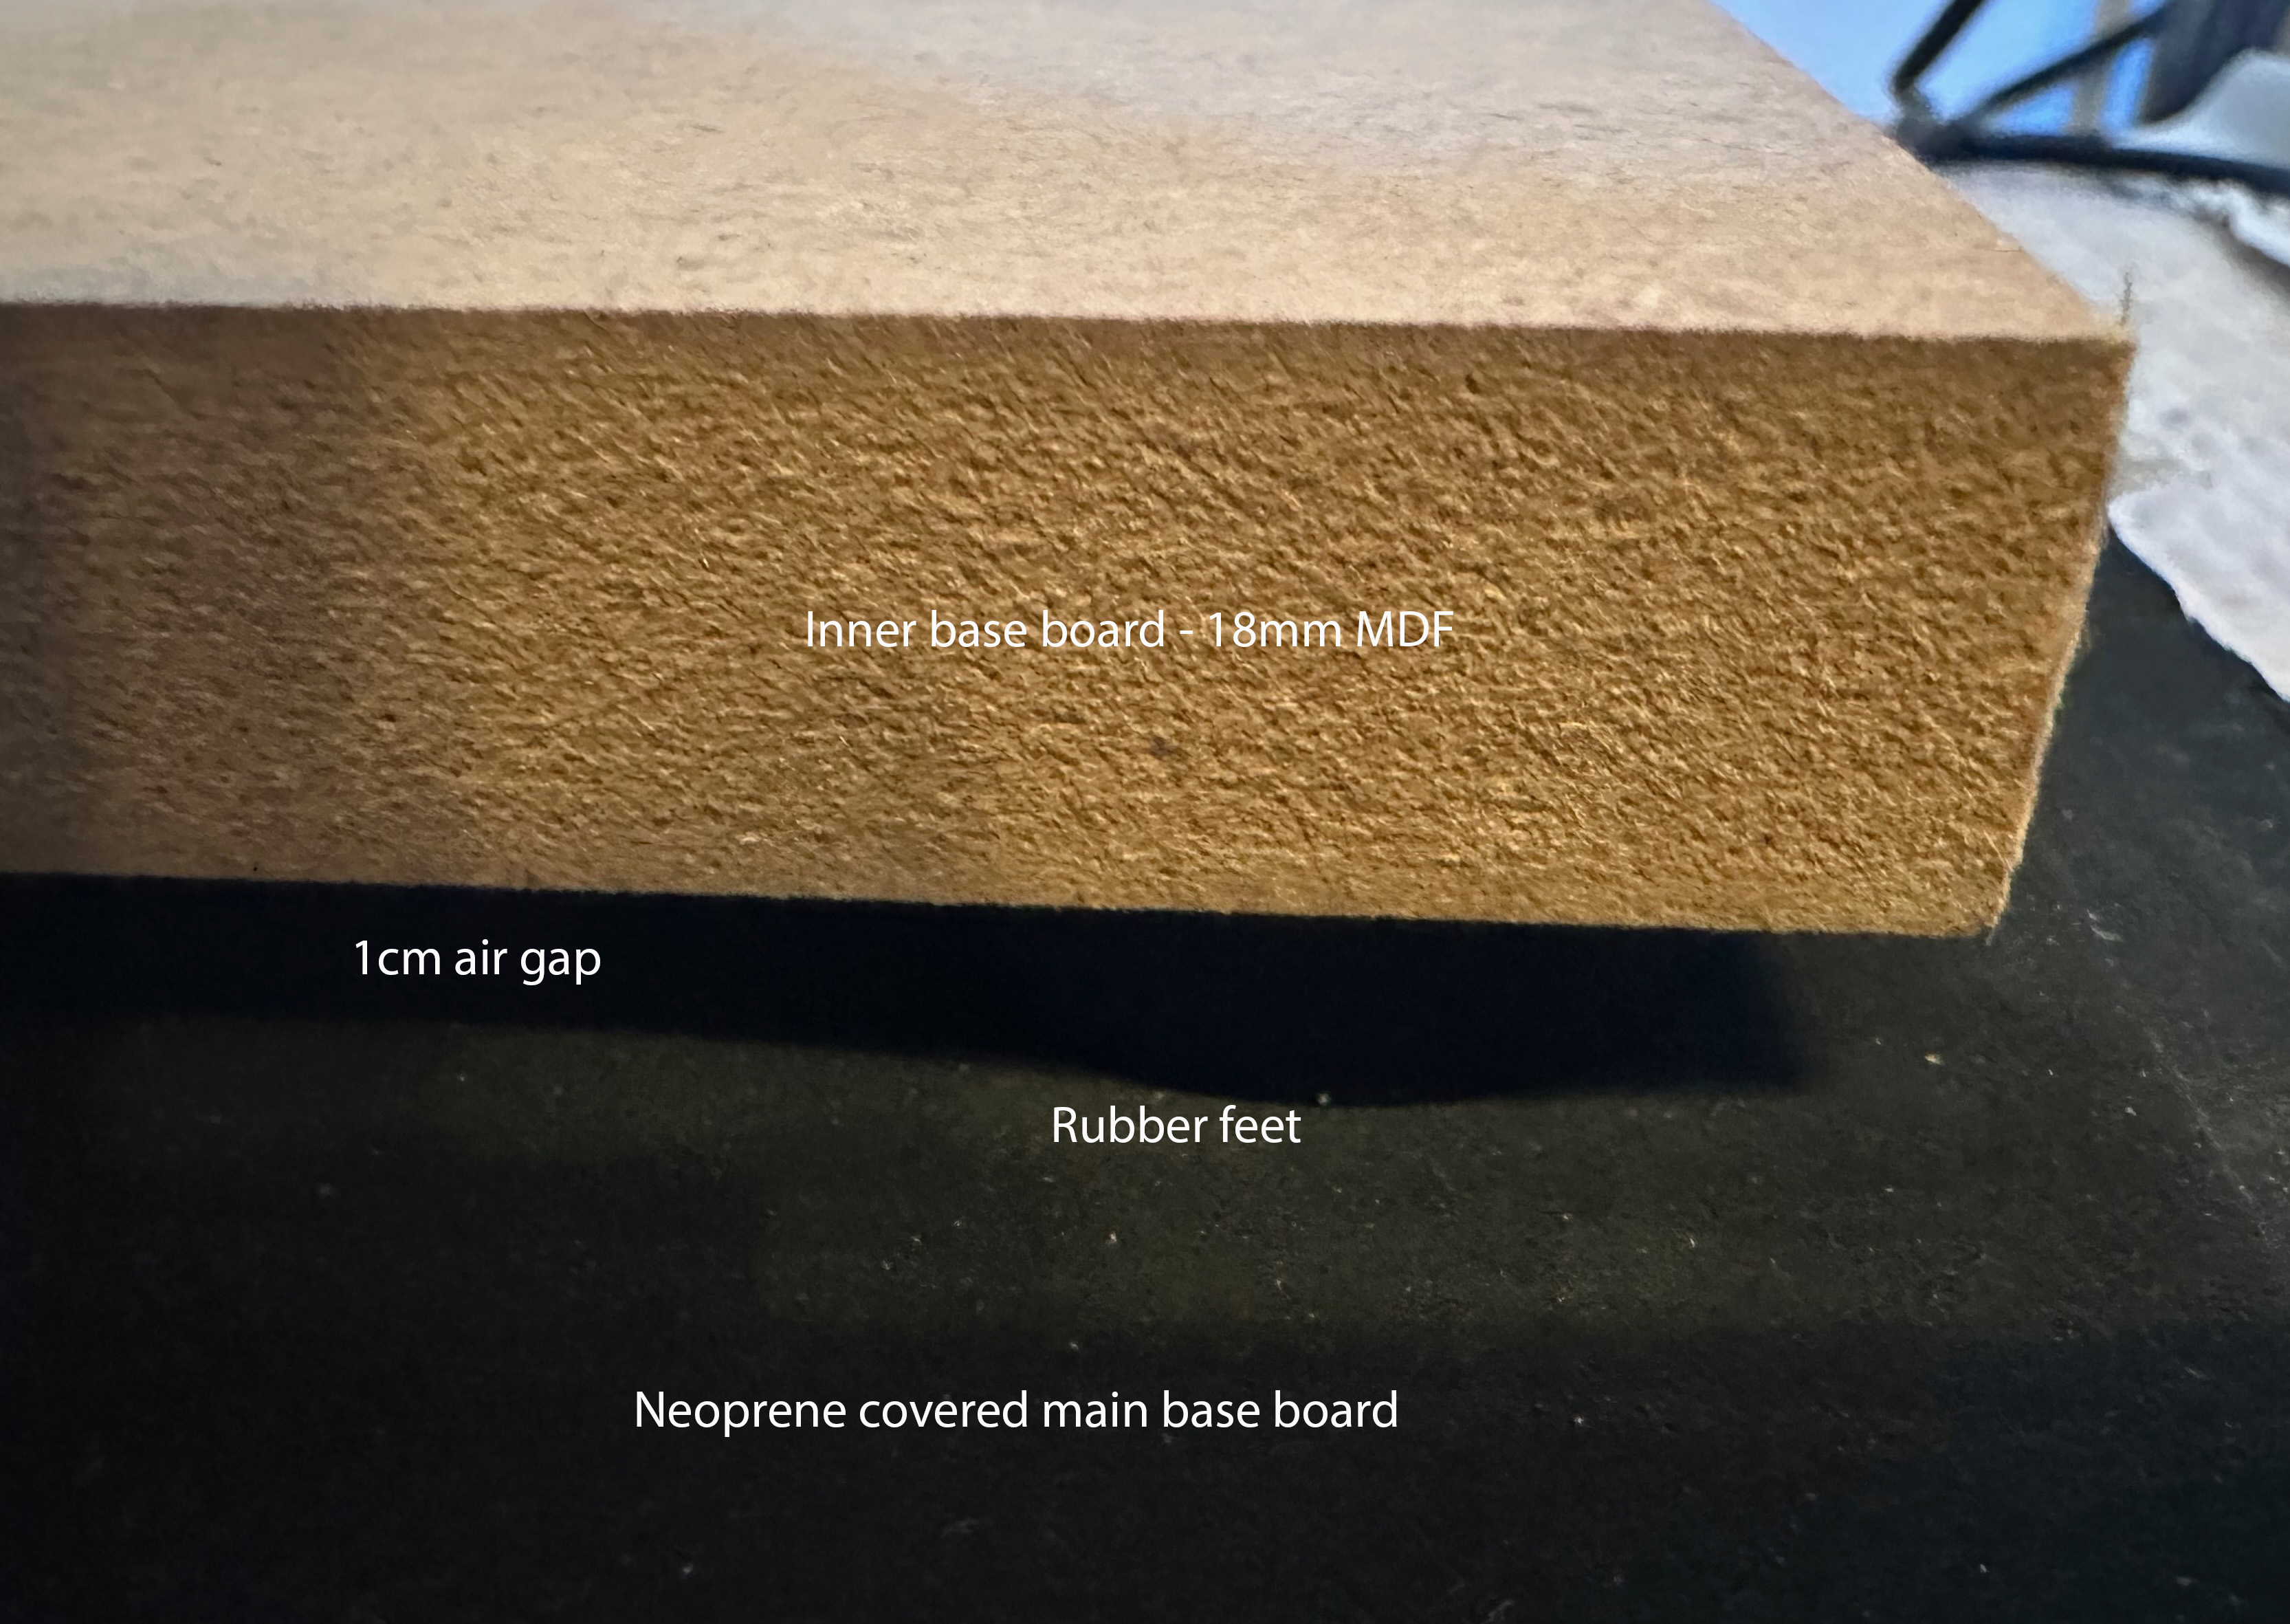
You now have a fully airtight frame from which you can evacuate the air by attaching the barbed nozzle protruding from the back to a vacuum pump. However you will see that the cavity of the frame is quite deep - this is where you need the inner base board. The dimensions of this are such that there is a small gap around it and by attaching rubber feet to its underside means there is an gap underneath it - this allows for even airflow when the pump evacuates the air. Place the inner base board in the centre of the main base board the frame should easily open and close around it.
Using the vacuum frame
I have sized the frame to fit exactly into the exposure bed of my UV exposure unit. The dimensions allow for plate sizes upto A3+.
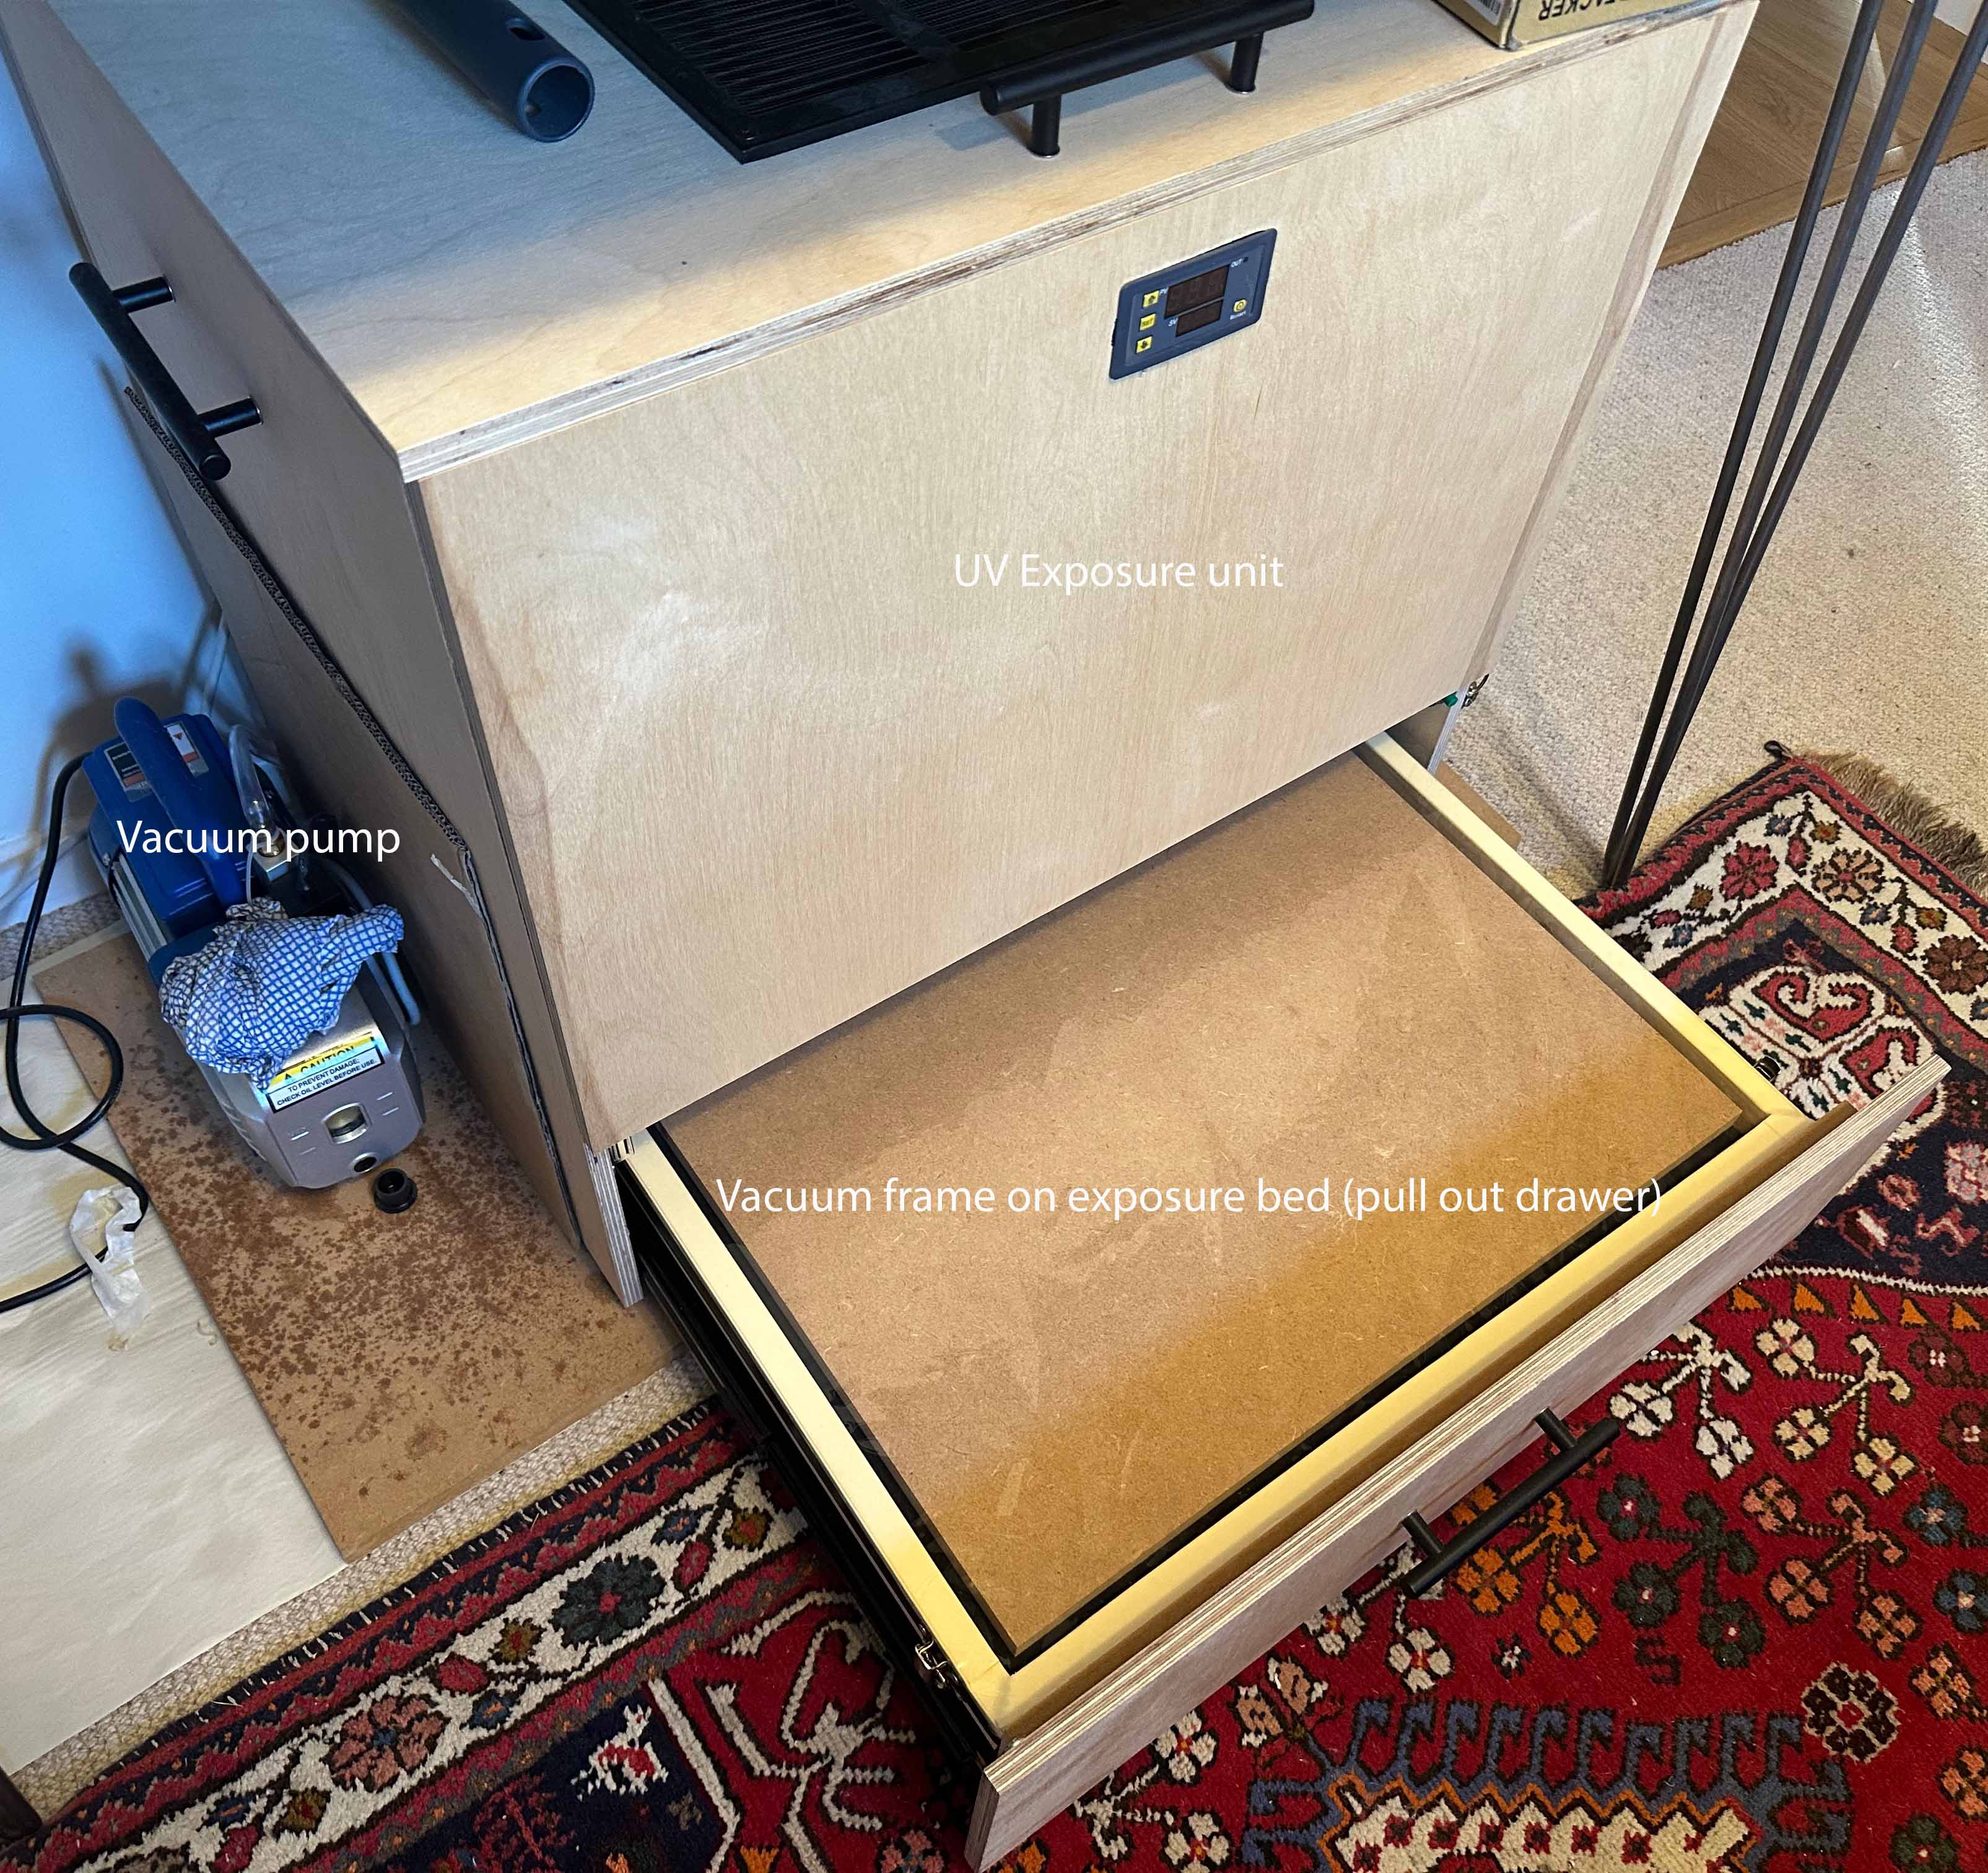
By having the inner base board the film creates an even pressure of the entire surface area of the board - there is no excesive stretching of the film. It takes a few seconds for the vacuum pump to remove all the air. During this I use a sponge paint roller over the plate and transparency (or aquatint screen) to make sure there are absolutely no gaps or air bubbles between the transparency and the plate.
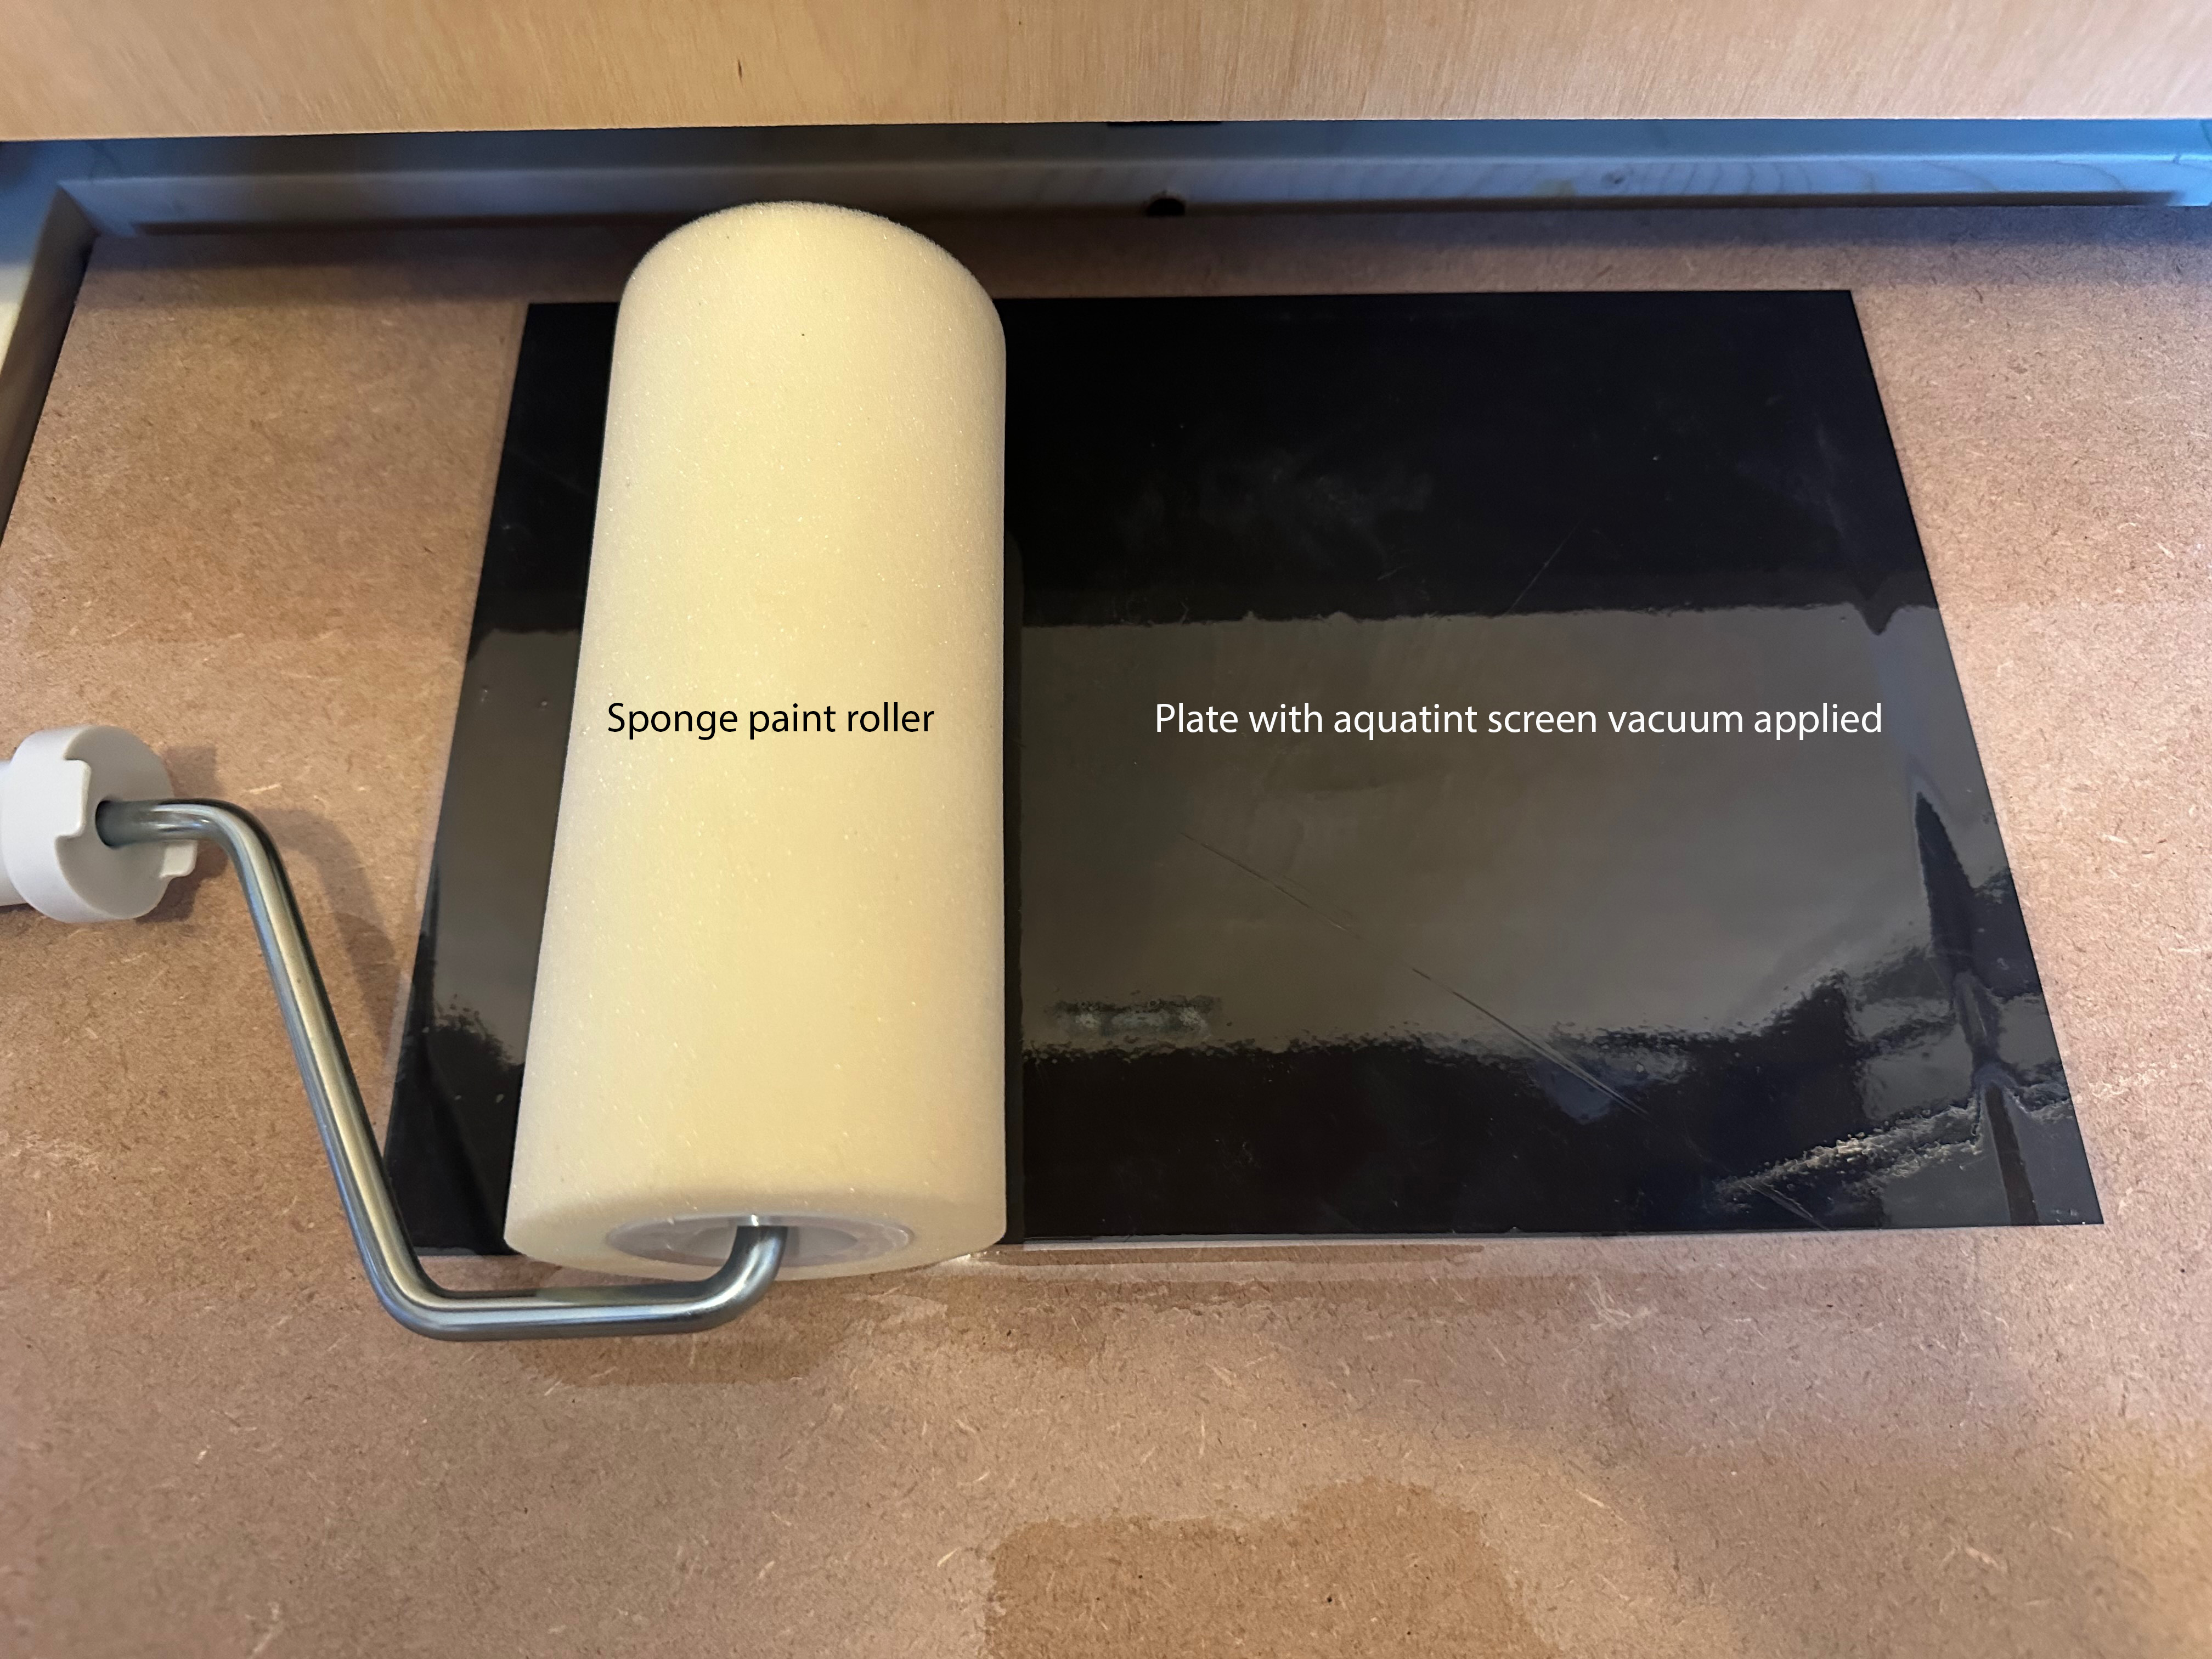
It is neccessary to keep the vacuum pump running for the duration of the exposure. I have found the FEP film to have excellent UV properties significantly reducing exposure times (4 minutes Aquatint screen, 7.5 minutes transparency) comapared to glass and or UPVC (both of which absorb UV light and needed exposure times of 20-40 minutes). The material itself is quite delicate and would be easy to puncture - I have almost done this by dropping a sharp cornered plate on it - however it continues to function well, although I can envisage a time when I will have to refresh the film.