The photogravure process is particularly suited to source images originating from traditional film. The grain structure of the image not only imparts a quality and texutre to the final image that is beautiful it does this by interacting with the aquatint enhacing the surface texture of the plate allowing it to hold the ink in a way that enhances the tonal range of the final image. However the process mandates the production of a transparency that is equal in size to the final image as well as a tailored tonal range to the sensitivity of the plate - this can only be a digital processing step. The process of digitising an analogue film negative or positive in a manner that preserves the original film grain is an important workflow step to get right - and is not easy. Most digitsation apps are just not of sufficient resolution or quality. If you are able to source a flat-bedscanner with transparency hood I would reccomend this approach - however sadly the last one of these on the market (Epson V900) is no longer being produced. The alternative approach is to use an LED light table and a macro lens on a digital camera - using this method however only produces sufficient resolution through multi-frame images which then have to be stitched together. I will describe both methods in this article.
{HERO_CAPTION}
These are the steps for converting black and white analogue film photographs to digital images
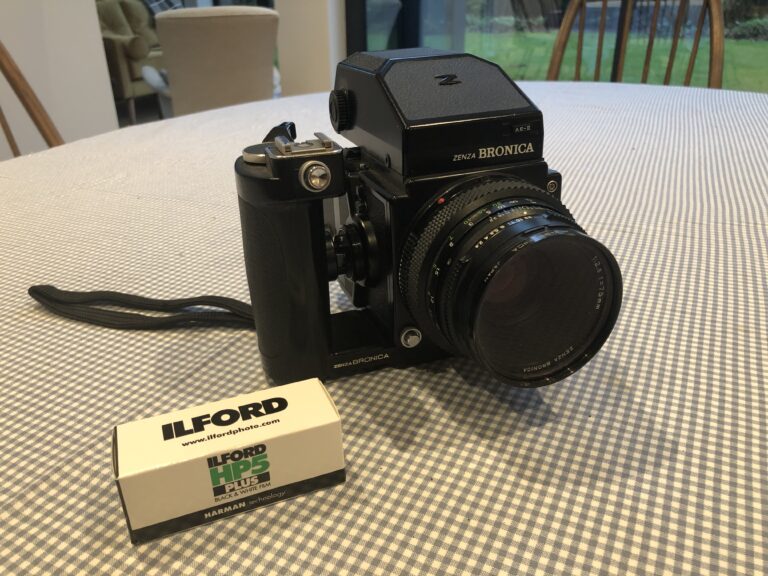
First you need an analogue camera and some film! I’m using a Bronica ETRS 6×4.5 medium format camera with Ilford HP5 film (400 ASA)